AI Portrait Generative Fill: The 2026 Standard for Natural Face Editing
If you have ever tried to expand a headshot crop, fix an awkward framing choice, or add subtle environmental context around a portrait, you already know the frustration of traditional cloning and content-aware tools. AI portrait generative fill solves this by using text-prompt-driven inpainting models that understand facial anatomy, skin texture, lighting direction, and hair structure — producing results that look like they were captured in-camera, not patched together after the fact.
In 2026, generative fill has matured well beyond its early novelty. Portrait-specific models now preserve identity, match skin tone across extended regions, and respect the optical properties of lenses and studio lighting. Whether you are a creator refreshing headshots, an ecommerce seller expanding product-on-model imagery, or a marketer compositing lifestyle scenes, this guide explains exactly how AI portrait generative fill works, what to look for in a tool, and how to prompt for the most natural results.
What Is AI Portrait Generative Fill?
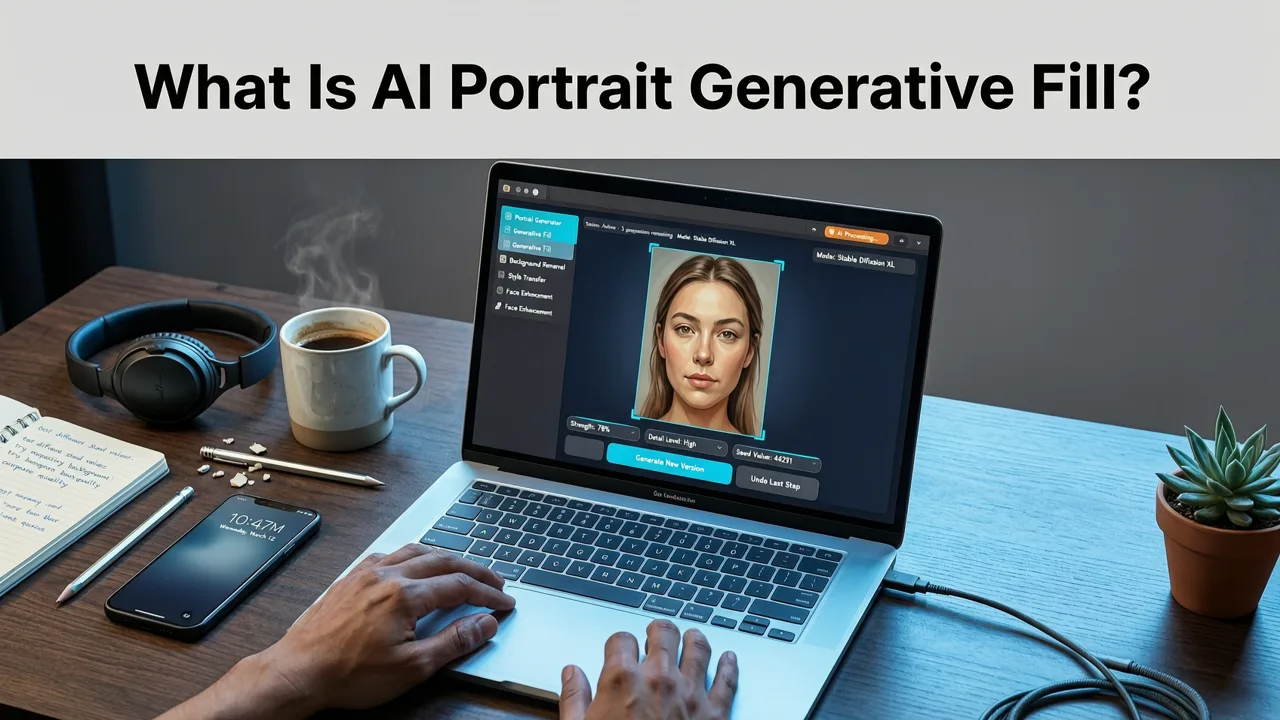
Generative fill is an inpainting technique powered by diffusion-based AI models. You select a region of an image — or describe one with a text prompt — and the model generates new pixel content that blends seamlessly with the surrounding context.
Expand Any Photo with AI Generative Expand in Photoshop
by PHLEARN
When applied specifically to portraits, AI portrait generative fill goes further. It must:
- Preserve the subject's identity, including micro-expressions, eye shape, and jawline geometry.
- Maintain consistent skin texture, pore detail, and subsurface scattering across extended areas.
- Respect the lighting environment, including highlight falloff, shadow direction, and color temperature.
- Handle semi-transparent or fine-detail elements like hair strands, eyelashes, and wispy flyaways.
This is why portrait generative fill requires specialized models rather than generic inpainting. A tool trained on landscapes or product photos will often produce blurry skin, mismatched hair, or anatomically incorrect extensions when asked to expand around a human face.
How AI Portrait Generative Fill Works in 2026
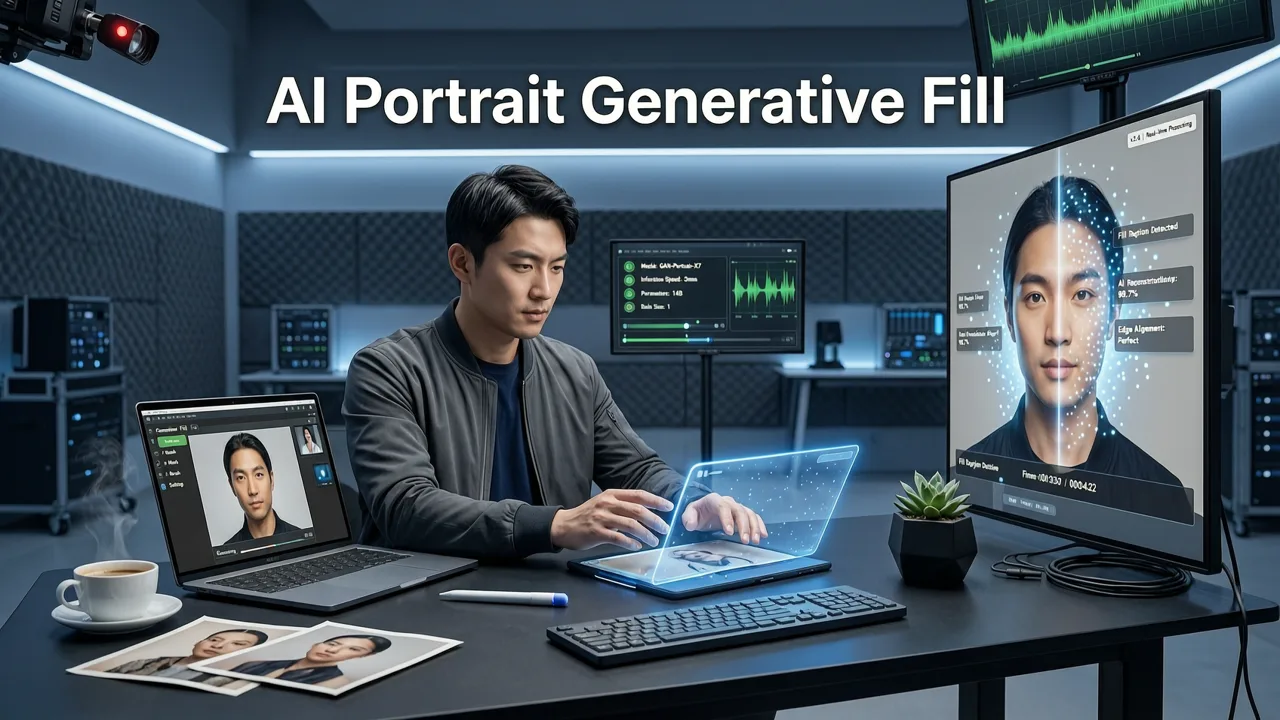
The underlying architecture has evolved significantly. Modern portrait generative fill pipelines combine several specialized stages to produce results that are both creative and anatomically faithful.
Stage 1: Semantic Face and Body Segmentation
Before any pixels are generated, the model performs a dense semantic parse of the image. It identifies facial landmarks (eyes, nose, mouth, ears, jawline), hair regions, skin boundaries, clothing edges, and background zones. This segmentation map ensures that generated content respects anatomical structure rather than treating the face as a generic texture patch.
Stage 2: Lighting and Environment Estimation
The model estimates the scene's lighting setup — key light direction, fill intensity, rim light presence, and ambient color temperature. This information is critical because any newly generated pixels around the portrait must match the existing illumination, or the edit will look obviously synthetic.
Stage 3: Prompt-Guided Diffusion Inpainting
Using your text prompt and the segmentation map, a diffusion model generates candidate pixel content within the masked region. In 2026, portrait-specialized models apply identity-preserving attention layers that prevent the subject's facial features from drifting during generation. You can read more about how prompt-based editing works without manual masking in the best AI generative fill alternative guide.
Stage 4: Consistency Blending and Micro-Detail Refinement
The final stage harmonizes the generated region with surrounding pixels using gradient-domain blending, texture synthesis for skin pore continuity, and hair-strand flow matching. This is where good tools separate themselves from great ones — the difference between a passable composite and an image that looks genuinely photographed.
Common Use Cases for AI Portrait Generative Fill
Portrait generative fill is not a single-trick feature. It serves a wide range of practical workflows across personal, commercial, and creative use.
Expanding Tight Headshot Crops
Photographers and creators frequently receive images cropped too tightly — just the face and shoulders, with no breathing room. Generative fill extends the canvas naturally, adding realistic shoulder, neck, and background content that matches the original lighting and depth of field.
Removing or Replacing Background Elements Near the Subject
When background distractions encroach near the subject's hair or shoulders, traditional background removers can produce harsh edges. Generative fill rebuilds the transition zone with contextually appropriate content, producing a cleaner composite than simple cut-and-paste methods. Pair this with a dedicated AI background remover for the most polished workflow.
Fixing Wardrobe or Framing Issues
A slightly off-center composition or an awkward wardrobe wrinkle near the frame edge can be corrected by generating new content in the affected region. The model extends clothing textures, fabric folds, and body contours consistently.
Creating Lifestyle and Environmental Context
For ecommerce and marketing, you may need to place a portrait subject in a specific environment — a coffee shop, an office, a studio set. Generative fill extends the image to include environmental elements that feel natural around the subject, including appropriate reflections, shadows, and atmospheric depth.
Restoring Damaged or Cropped Vintage Portraits
Old photographs with tears, water damage, or aggressive cropping can be reconstructed using generative fill. The model infers missing facial regions from surrounding context and anatomical priors, producing restorations that respect the original subject's appearance.
What to Look for in an AI Portrait Generative Fill Tool
Not all generative fill tools handle portraits equally. When evaluating options in 2026, prioritize these capabilities:
| Feature | Why It Matters for Portraits |
|---|---|
| Identity preservation | Prevents facial features from shifting or morphing during generation |
| Skin tone consistency | Ensures extended regions match the subject's complexion without patchy color shifts |
| Hair-aware inpainting | Handles fine strands, flyaways, and complex hair-background boundaries |
| Lighting estimation | Matches highlight and shadow direction so generated areas look natural |
| Text-prompt control | Lets you describe exactly what should appear in the generated region |
| High-resolution output | Preserves skin pore detail and texture at print and social media resolutions |
| Browser-based workflow | No software installation required — upload, prompt, and download in seconds |
AI Image Editor offers all of these capabilities through a browser-based interface with over 200 text-prompt tools, making it a strong option if you want free Photoshop generative fill online without installation.
How to Prompt AI Portrait Generative Fill for Natural Results
The quality of your output depends heavily on how you write your prompt. Here are proven strategies for portrait-specific generative fill.
Be Specific About the Environment
Rather than writing "add background," describe the scene with lighting and material details: "soft natural window light from the left, blurred bookshelf background with warm wooden tones, shallow depth of field at f/2.8." The more contextual information you provide, the better the model can match the existing image.
Reference Lighting Direction Explicitly
If the original portrait has clear directional lighting, state it in your prompt: "continue the existing warm key light from the upper right, with subtle fill from the left." This prevents the model from generating flat or contradictorily lit extensions.
Describe Texture and Material
For clothing or environmental extensions, name the materials: "lightweight linen shirt in oatmeal color with visible weave texture" or "concrete wall with subtle weathering and soft shadows." Material specificity helps the model generate convincing surface detail.
Avoid Over-Prompting Facial Features
When expanding around a face, avoid describing facial features in your prompt. Let the model preserve the existing identity. Instead, focus your prompt on the region being generated: "extend the background with a soft gradient of neutral studio gray, matching the existing seamless paper backdrop."
Use Negative Prompts When Available
If the tool supports negative prompts, use them to exclude common artifacts: "no extra limbs, no distorted fingers, no visible seams, no color banding, no over-smoothed skin." This guides the model away from frequent failure modes.
Common Mistakes to Avoid
Even with powerful models, certain mistakes consistently degrade portrait generative fill results.
- Masking too large a region at once. Break complex expansions into multiple smaller passes. Generating a massive area in one shot increases the chance of inconsistency.
- Ignoring the original image's depth of field. If the portrait has bokeh or shallow focus, your prompt should specify matching blur characteristics for the generated background.
- Over-smoothing skin in post-processing. Generative fill already matches skin texture. Heavy beauty retouching afterward can create a visible boundary between the original and generated regions.
- Forgetting about hair boundaries. Hair is the most challenging portrait element. Use tools with hair-aware segmentation, and consider multiple generation passes to refine flyaway strands.
- Using low-resolution source images. Generative fill works best when the original image has sufficient detail. Upscale your source first if needed.
AI Portrait Generative Fill vs. Traditional Retouching
Understanding where generative fill fits in your workflow helps you use it effectively alongside traditional techniques.
When Generative Fill Excels
- Extending canvas or cropping boundaries
- Adding or replacing background context around the subject
- Reconstructing damaged or missing image regions
- Creating environmental composites without separate photo shoots
When Traditional Retouching Is Still Better
- Precise skin blemish removal at the pixel level
- Dodge and burn for facial contouring
- Color grading and tone matching across a series
- Subtle frequency separation for high-end beauty work
The most effective 2026 workflows combine both: generative fill for structural and environmental edits, followed by targeted retouching for finish and polish. For specific challenges like removing reflection from glasses in portraits, specialized tools may outperform general-purpose generative fill.
Ethical Considerations and Responsible Use
As generative AI becomes more capable, responsible use matters more than ever. When editing portraits:
- Obtain consent from subjects before significantly altering their appearance or placing them in fabricated environments.
- Disclose AI-generated modifications when the image is used in contexts where authenticity is expected, such as journalism or legal documentation.
- Follow emerging guidelines from organizations like Google's AI responsibility principles and OpenAI's documentation on content authenticity.
- Be aware of jurisdictional regulations regarding AI-generated imagery in advertising and commercial contexts.
Responsible use is not just an ethical obligation — it builds trust with your audience and protects your professional reputation.
Quick-Start Workflow for AI Portrait Generative Fill
Here is a streamlined process to get natural results quickly:
- Upload your portrait to a browser-based generative fill tool.
- Mask the region you want to extend or modify. Keep masks tight to the area that actually needs generation.
- Write a specific prompt describing the desired content, lighting, materials, and depth of field.
- Generate and review multiple variations. Most tools produce several candidates per prompt.
- Refine with additional passes if needed, targeting specific sub-regions for improvement.
- Apply final retouching for skin finish, color grading, and sharpening.
- Export at full resolution for your intended use case.
This workflow typically takes under two minutes per image, compared to the fifteen to thirty minutes that equivalent manual compositing would require in a traditional editor.
The Future of Portrait Generative Fill
Looking ahead, portrait generative fill is moving toward real-time preview generation, 3D-aware inpainting that understands facial geometry in three dimensions, and video-compatible generative fill that maintains temporal consistency across frames. Identity-preserving models are becoming more robust, reducing the risk of facial drift even with aggressive prompts. For creators and businesses, these advances mean that professional-quality portrait editing will continue to become faster, more accessible, and more natural-looking throughout 2026 and beyond.
Conclusion
AI portrait generative fill has become an essential tool for anyone working with human subjects in photography, ecommerce, or content creation. By understanding how the technology works, choosing tools with portrait-specific capabilities, and writing precise prompts, you can produce edits that are indistinguishable from in-camera captures. Start experimenting with your own portraits today — upload an image, describe the change you want, and see how far generative fill can take your work in seconds.