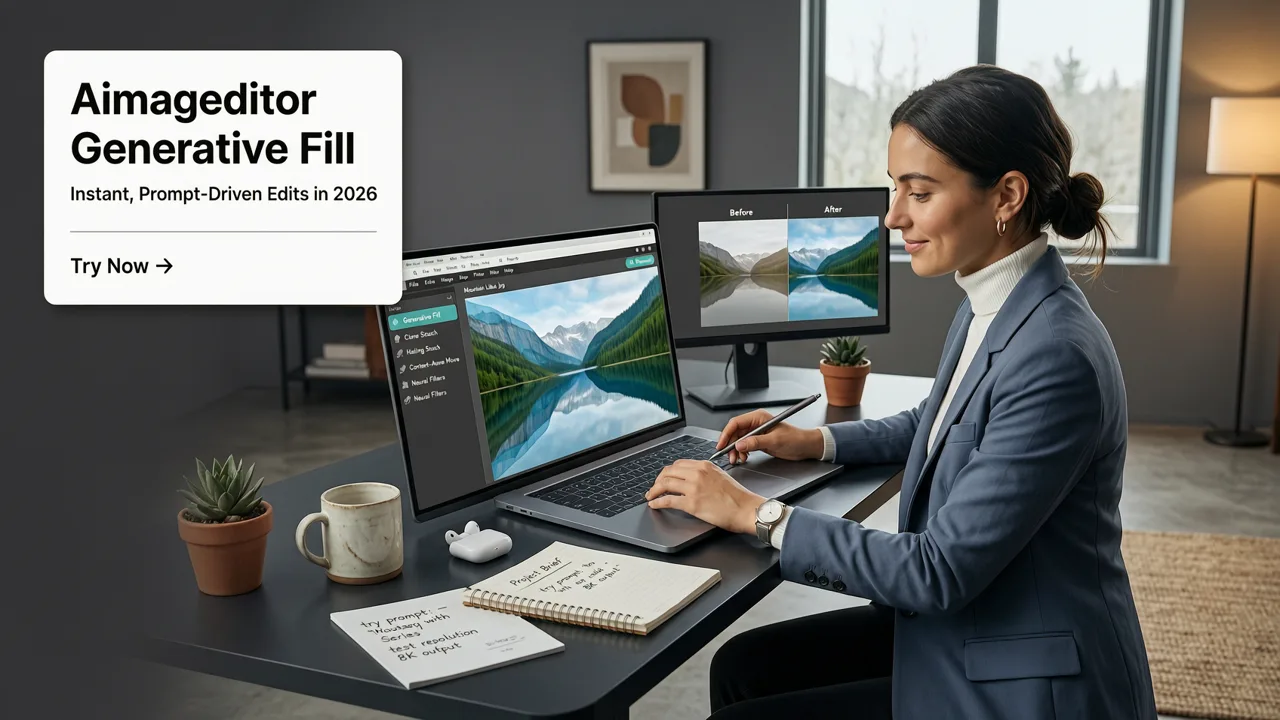
AI Image Editor Generative Fill — Instant, Prompt-Driven Edits in 2026
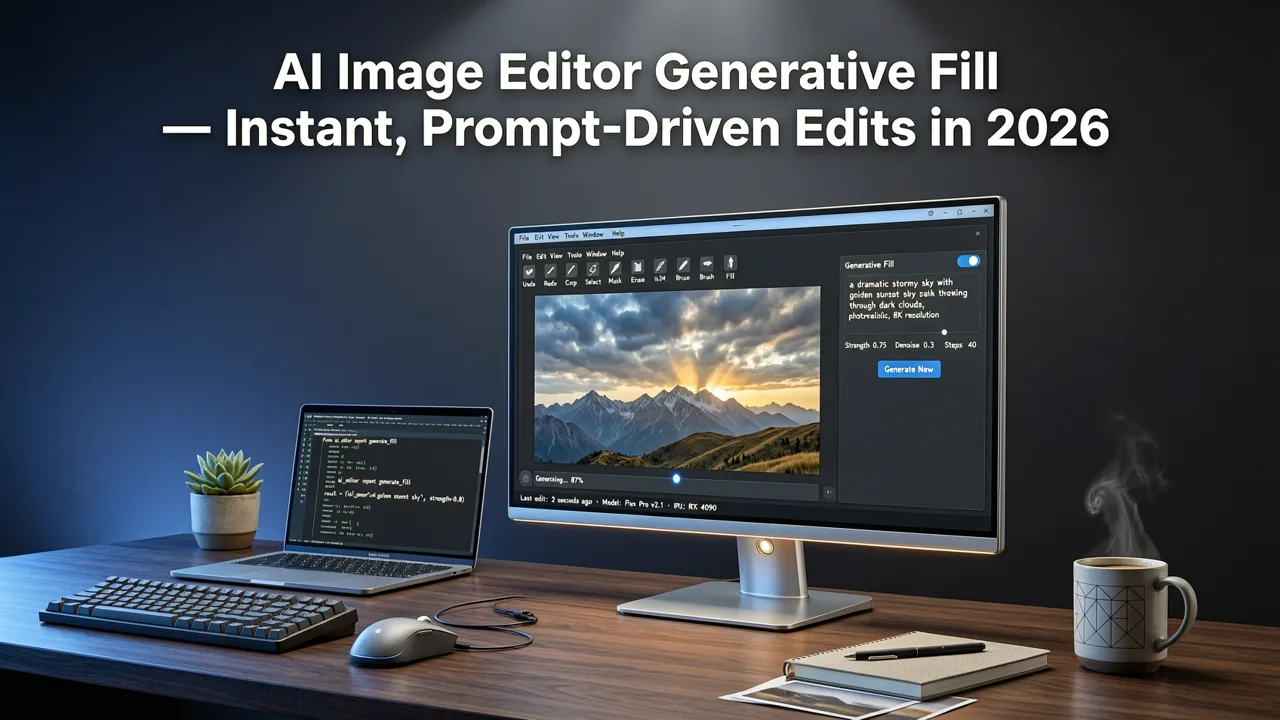
If you are searching for aimageditor generative fill, the short answer is this: AI Image Editor's generative fill lets you add, remove, or replace any region of a photo using a plain-language prompt — no layers, no masks, no design skills required. Upload an image, paint over the area you want to change, type what you want to see, and the engine produces a photorealistic result in seconds.
Generative fill has become the single most requested editing capability in 2026, and AI Image Editor delivers it through a browser-based workflow that works on any device. Whether you are a content creator refreshing a social feed, an ecommerce seller swapping product backgrounds, or a marketer compositing campaign visuals, the tool collapses hours of manual retouching into a single prompt.
What Is Generative Fill and Why It Matters in 2026
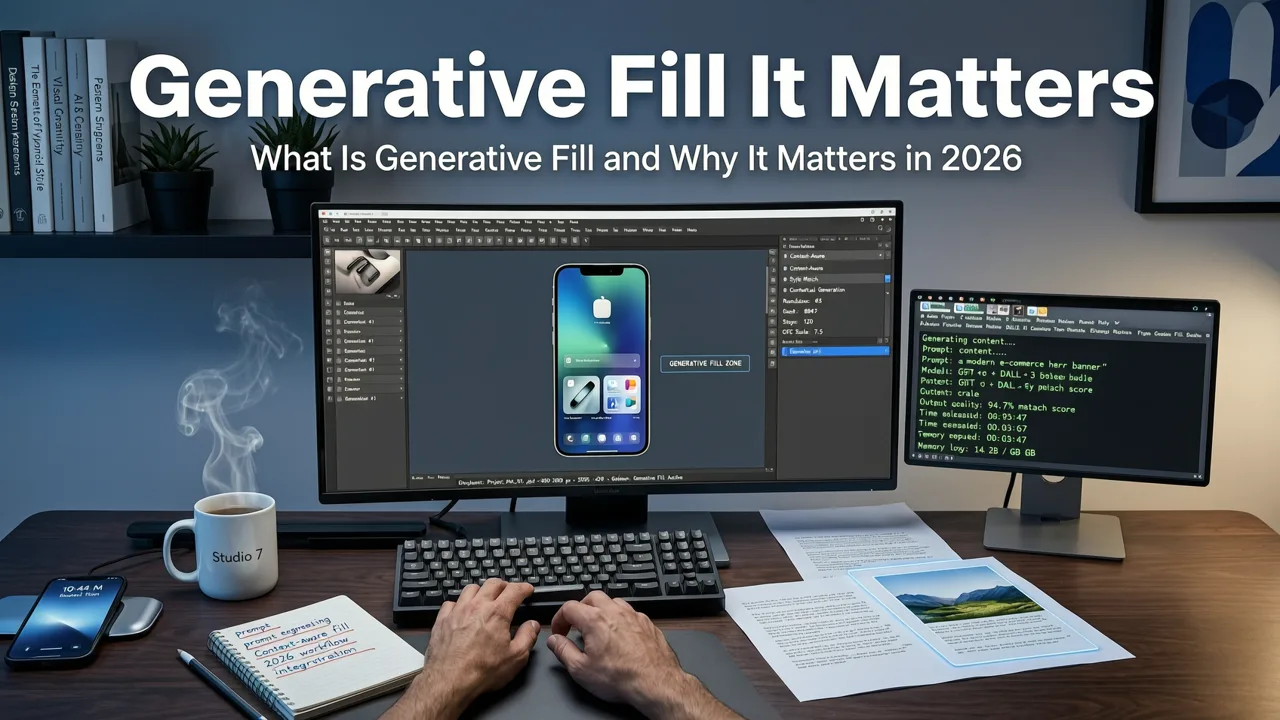
Generative fill is an AI-powered editing technique that uses large-scale diffusion models to understand the context of an image and then synthesize new pixel data that matches the surrounding lighting, perspective, texture, and color. Unlike traditional clone-stamp or content-aware fill tools that merely sample nearby pixels, generative fill creates entirely new content guided by your text description.
Introduction to Generative Fill | Adobe Photoshop
by Adobe Photoshop
The reason this matters in 2026 is simple: the quality gap between generative fill and manual compositing has effectively closed. Modern diffusion models can now handle complex scenarios — reflective surfaces, hair strands, dappled lighting, transparent objects — that would have required a skilled Photoshop artist just two years ago. AI Image Editor packages that capability behind a clean, accessible interface so that anyone can use it.
How Generative Fill Differs from Traditional Editing
Traditional editing workflows rely on manual selection, layer masking, and pixel sampling. Generative fill replaces that pipeline with three steps: selection, prompting, and inference. The model analyzes the unmasked context of the image, interprets your text instruction, and generates pixels that are statistically and perceptually consistent with the rest of the scene. The result is not a copy of something that already exists in the image — it is a brand-new creation that belongs there.
How AI Image Editor Generative Fill Works Under the Hood
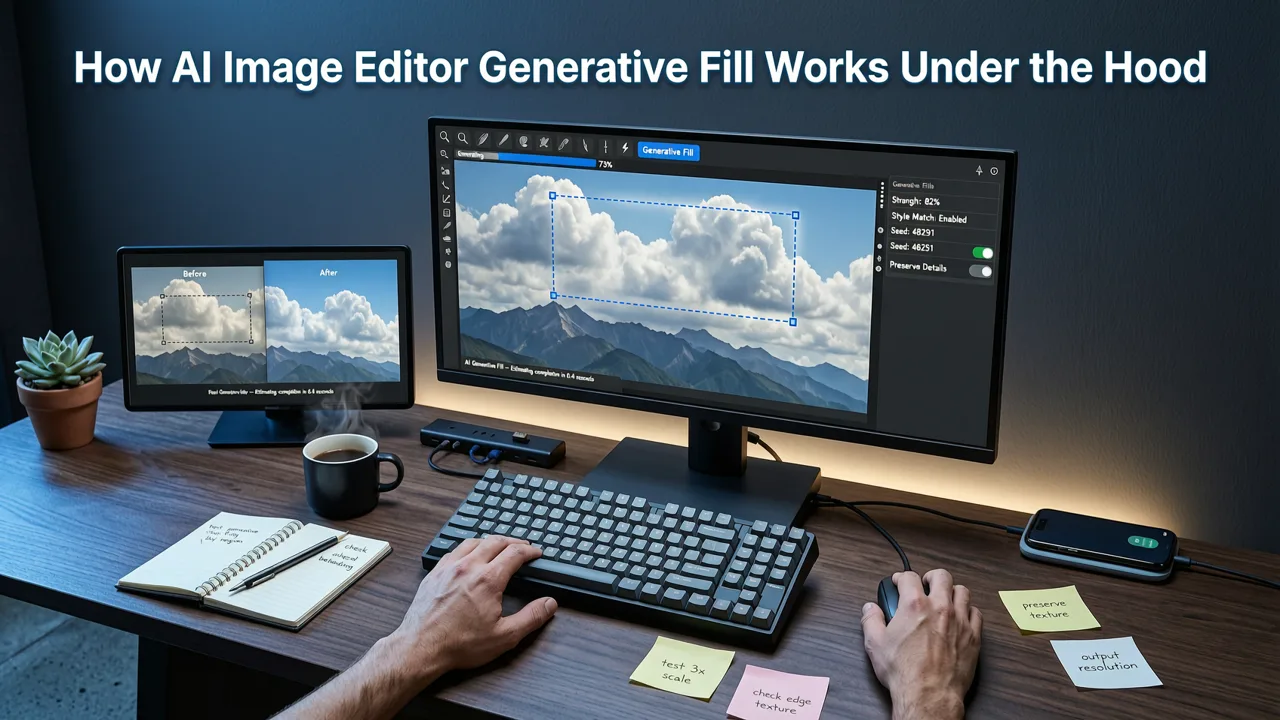
AI Image Editor's generative fill is built on a multi-stage pipeline that balances speed, coherence, and creative control. Here is what happens when you submit a prompt:
- Semantic Segmentation: The model first identifies every object, surface, and region in your image, building a contextual map that understands what is a person, what is sky, what is a table, and so on.
- Mask Conditioning: Your painted selection is combined with the semantic map so the model knows exactly where new pixels should appear and where existing pixels must be preserved.
- Prompt Encoding: Your text description is converted into a high-dimensional embedding that guides the diffusion process toward the content you want.
- Diffusion Inference: The model iteratively denoises random pixels within the masked region, guided simultaneously by your prompt and by the surrounding image context, until a coherent result emerges.
- Edge Blending: A final pass smooths the boundary between generated and original pixels so the edit is invisible to the human eye.
This pipeline is what separates aimageditor generative fill from simpler inpainting tools. The model does not just fill a hole — it understands the scene and creates content that belongs in it.
Step-by-Step: Using AI Image Editor Generative Fill
Getting started takes less than a minute. Here is the complete workflow:
Step 1 — Upload Your Image
Drag and drop any photo into the AI Image Editor canvas. The platform accepts JPEG, PNG, and WebP files up to 50 MP. Your image is processed locally in the browser preview and securely on the server during generation.
Step 2 — Paint the Area to Edit
Use the brush tool to paint over the region you want to change. You can adjust brush size, hardness, and opacity. For precise work, zoom in and use a smaller brush. For broad replacements, a large soft brush covers more area in fewer strokes.
Step 3 — Write Your Prompt
Describe what you want to appear in the masked area. Be specific: instead of "a dog," try "a golden retriever sitting on grass, afternoon sunlight, shallow depth of field." The more context you provide, the better the model can match lighting, scale, and perspective.
Step 4 — Generate and Refine
Hit generate and review the result. AI Image Editor produces multiple variations so you can choose the one that fits best. If the first attempt is not quite right, adjust your prompt or mask and regenerate. Each iteration takes only a few seconds.
Step 5 — Export
Once you are satisfied, export your edited image in your preferred format and resolution. The platform supports lossless PNG export for maximum quality, as well as optimized JPEG for web use.
Use Cases: Who Benefits Most from Generative Fill
Generative fill is not a single-use trick — it is a versatile editing primitive that applies across dozens of real-world scenarios. Here are the most impactful use cases in 2026.
Ecommerce Product Photography
Sellers use generative fill to place products in lifestyle contexts without organizing a physical shoot. A plain white-background product shot can be transformed into a kitchen counter scene, a garden table setting, or a minimalist studio backdrop — all from a text prompt. This dramatically reduces cost per SKU and accelerates time to listing.
Social Media Content Creation
Creators use generative fill to add elements that did not exist when the photo was taken: a coffee cup on a desk, a neon sign in a street scene, a seasonal decoration in a room. The result is content that feels authentic and intentional, not obviously composited.
Portrait and Headshot Enhancement
Portrait editors use generative fill to adjust clothing, add accessories, or change background elements without reshooting. For a deeper look at portrait-specific workflows, see our guide on the best AI photo editor for portraits.
Marketing and Advertising
Marketers use generative fill to rapidly iterate on campaign visuals. Need to test five different background scenes for the same product? Generative fill makes that a ten-minute task instead of a five-shoot production.
AI Image Editor Generative Fill vs. Competitors in 2026
The generative fill market has matured considerably. Here is how AI Image Editor compares across the dimensions that matter most to users in 2026.
| Feature | AI Image Editor | Competitor A | Competitor B |
|---|---|---|---|
| Prompt-Based Editing | Full text-prompt control | Limited preset styles | Text prompt + style sliders |
| Edge Blending Quality | Perceptual edge matching | Basic feathering | Advanced but slower |
| Processing Speed | 3–8 seconds | 10–20 seconds | 15–30 seconds |
| Browser-Based | Yes, no install | Desktop app required | Hybrid |
| Batch Processing | Supported | Not available | Limited |
| Free Tier | Yes, with daily credits | Trial only | Watermarked |
The key differentiator is speed without sacrificing quality. AI Image Editor's infrastructure is optimized for low-latency inference, which means you spend your time creating rather than waiting.
Prompting Best Practices for Better Generative Fill Results
The quality of your generative fill output is directly tied to the quality of your prompt. Here are proven techniques for getting the best results.
Be Specific About Lighting
Always describe the lighting conditions you want: "soft morning light from the left," "harsh overhead fluorescent," "golden hour backlight." This single detail dramatically improves how well the generated content blends with the existing image.
Describe Materials and Textures
Instead of "a table," try "a weathered oak dining table with visible grain." Material descriptions help the model generate surfaces that match the tactile quality of the surrounding scene.
Include Perspective and Scale Cues
If you are adding an object, describe its relationship to existing elements: "a small ceramic mug on the right side of the desk, slightly behind the laptop." Spatial language helps the model place objects correctly in three-dimensional space.
Iterate With Incremental Prompts
If your first result is close but not perfect, refine rather than restart. Change one element of the prompt at a time — swap "golden retriever" for "border collie" while keeping everything else the same. This gives you controlled variation and faster convergence on the ideal result.
Combining Generative Fill With Other AI Image Editor Tools
Generative fill is powerful on its own, but it becomes even more effective when combined with other tools in the AI Image Editor suite.
Background Removal + Generative Fill
A common workflow is to first remove the background and replace it with AI, then use generative fill to add contextual elements within the new background. This two-step approach gives you complete creative control over both the macro environment and the micro details.
Upscaling + Generative Fill
After generating new content, you may want to increase the resolution of the final image for print or large-format display. AI Image Editor's upscaler preserves the detail of generated pixels without introducing artifacts. For a full comparison of upscaling options, read our analysis of the best Canva image upscaler alternative.
Portrait Retouching + Generative Fill
Portrait workflows often combine subtle retouching with generative additions — changing a backdrop, adding jewelry, or adjusting wardrobe elements. The platform's portrait tools and generative fill share the same canvas, so you never need to export and re-import between steps.
Ethical Use and Content Authenticity
With great generative power comes real responsibility. AI Image Editor is committed to responsible AI practices and encourages all users to follow ethical guidelines when using generative fill.
- Do not use generative fill to create deceptive imagery intended to mislead viewers about real events, people, or products.
- Disclose AI-generated content when required by platform policies or regulatory standards.
- Respect intellectual property — do not use prompts that reproduce copyrighted characters, logos, or trademarked designs.
- Be transparent with clients and audiences about the use of AI editing tools in commercial work.
The technology is a creative accelerator, not a substitute for honesty. Users who treat it with integrity will find it transforms their workflow; users who misuse it risk reputational and legal consequences.
Getting Started With AI Image Editor Generative Fill Today
The barrier to entry has never been lower. AI Image Editor offers a free tier with daily credits so you can experiment with generative fill immediately — no credit card, no software download, no tutorial marathon required. Upload an image, paint a region, type a prompt, and see what the model creates. Most users produce their first successful edit within two minutes of opening the platform.
Whether you are a professional designer looking to accelerate your pipeline, an ecommerce seller needing lifestyle imagery at scale, or a casual user who wants to make a fun edit for social media, aimageditor generative fill gives you the capability of a full compositing studio in a browser tab.
Final Thoughts
Generative fill has evolved from a novelty into an essential editing tool, and AI Image Editor's implementation sets the standard for speed, quality, and accessibility in 2026. The platform's prompt-driven interface means that creative ambition is no longer limited by technical skill — if you can describe it, you can create it.
Ready to see what generative fill can do for your images? Head to AI Image Editor, upload a photo, paint a region, and write your first prompt. Your next great image is one prompt away.