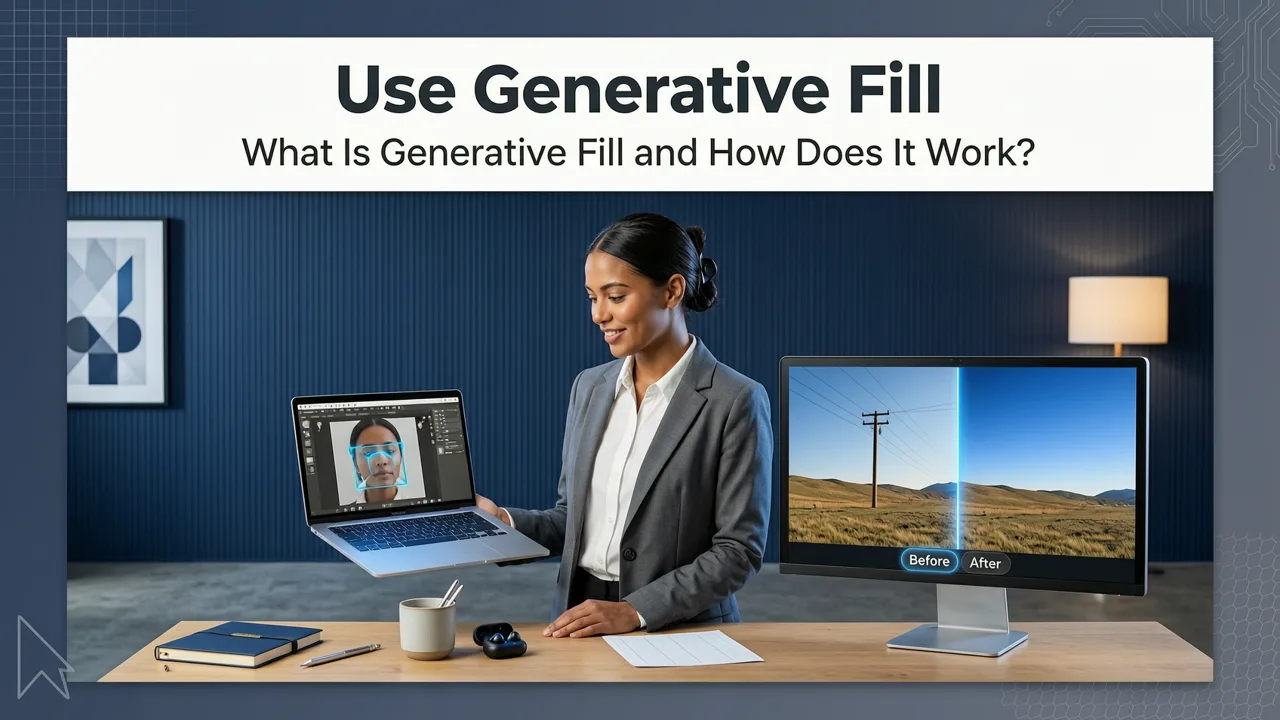
What Is Generative Fill and How Does It Work?
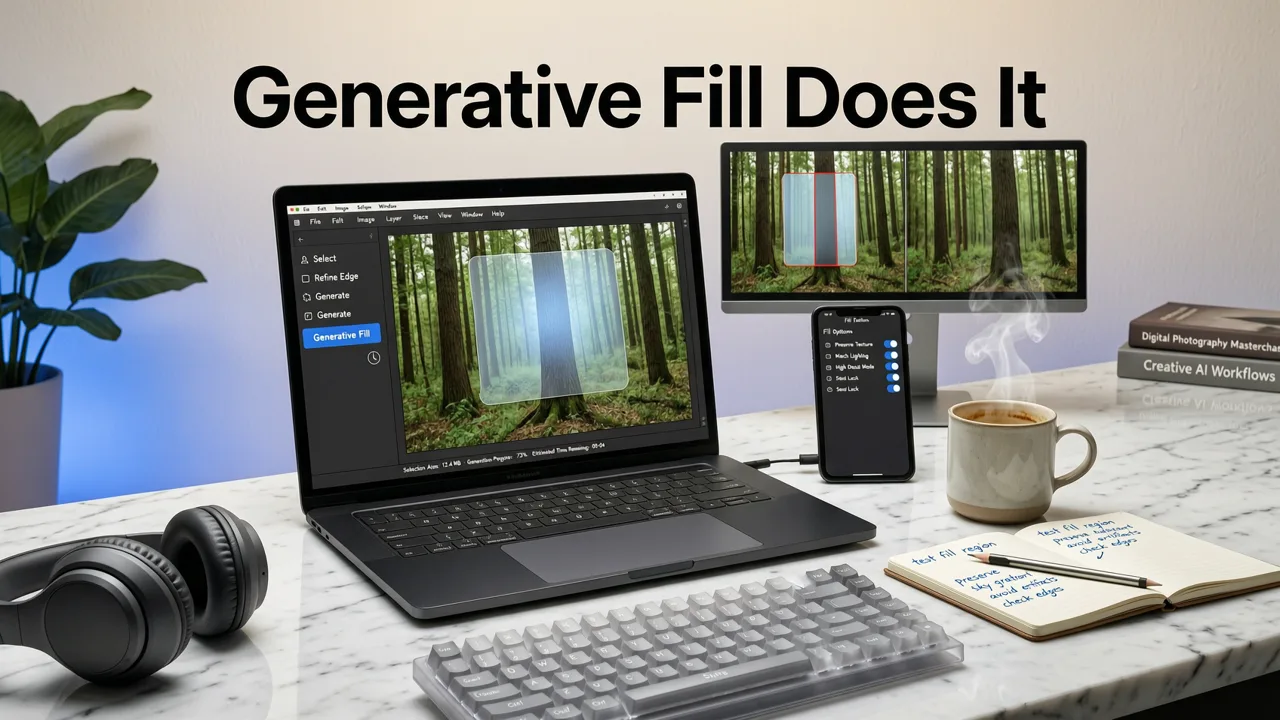
Generative fill is an advanced AI photo editing technique that allows you to add, remove, or expand elements within an image by simply describing your desired changes in plain text. Under the hood, this technology relies on AI inpainting and diffusion models. When you select an area and provide a text prompt, the AI analyzes the surrounding pixels—such as lighting, perspective, and texture—and generates new content that blends seamlessly into the original photograph.
The underlying mechanics of these diffusion models are well-documented in modern machine learning literature. For a deeper technical understanding of how these models interpret noise and structure to generate pixels, you can review the OpenAI documentation on image generation architectures.
How to Use Generative Fill: Step-by-Step Guide
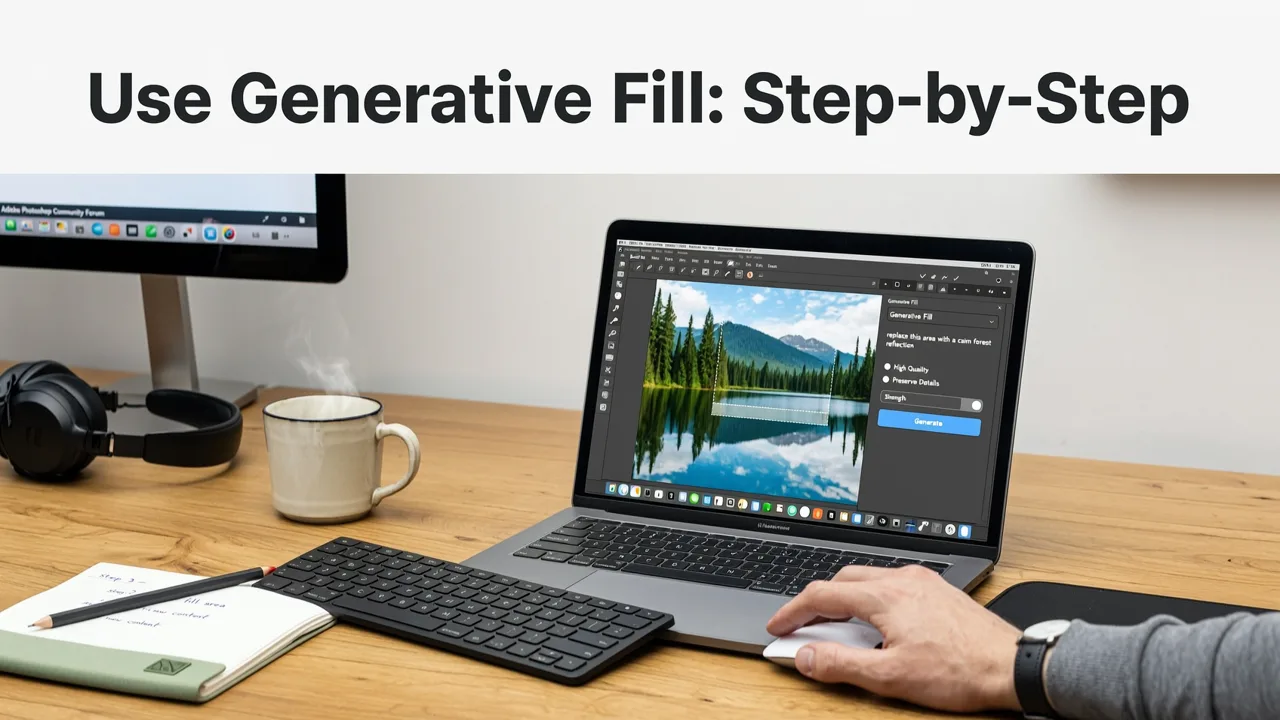
Learning how to use generative fill effectively requires a systematic approach. Whether you are removing an unwanted object, changing a subject's outfit, or expanding a cropped background, the core workflow remains the same across most modern AI editing platforms.
How to Use AI Generative Fill in Photoshop 2024 (& Generative Expand)
by Tim Harris AI
Step 1: Choose Your AI Editing Platform
Not all generative fill tools are created equal. Some are built into complex desktop software requiring a steep learning curve, while others operate entirely in your web browser. For everyday users, content creators, and ecommerce sellers, a browser-based AI image editor is often the most efficient choice. Look for platforms that offer 200+ text-prompt tools, intuitive selection brushes, and fast rendering times without requiring a powerful local GPU.
Step 2: Upload and Select the Area to Edit
Begin by uploading your base image to the editor. Once loaded, use the selection brush or lasso tool to highlight the specific area you want to modify.
- For object removal: Paint over the unwanted item, ensuring you include a small margin of the surrounding background.
- For background expansion: Expand the canvas size first, then select the newly created empty space.
- For element replacement: Select the existing object you wish to swap out.
Step 3: Write an Effective Text Prompt
The quality of your result depends heavily on your prompt. If you are removing an object, you can often leave the prompt blank or type "background" to let the AI infer the context. If you are adding or replacing an element, be specific. Describe the object, its material, the lighting direction, and the style. For example, instead of typing "a dog," type "a golden retriever sitting on the grass, soft afternoon sunlight, highly detailed fur."
Step 4: Generate, Compare, and Download
Click generate. Most platforms will produce three to four variations. Review them side-by-side to check for consistency in lighting, shadows, and perspective. Once you select the best variation, apply the changes and download your final image. If the resolution drops during the generation process, you can easily restore the sharpness using a dedicated upscaler.
Crafting the Perfect Prompt for Generative Fill
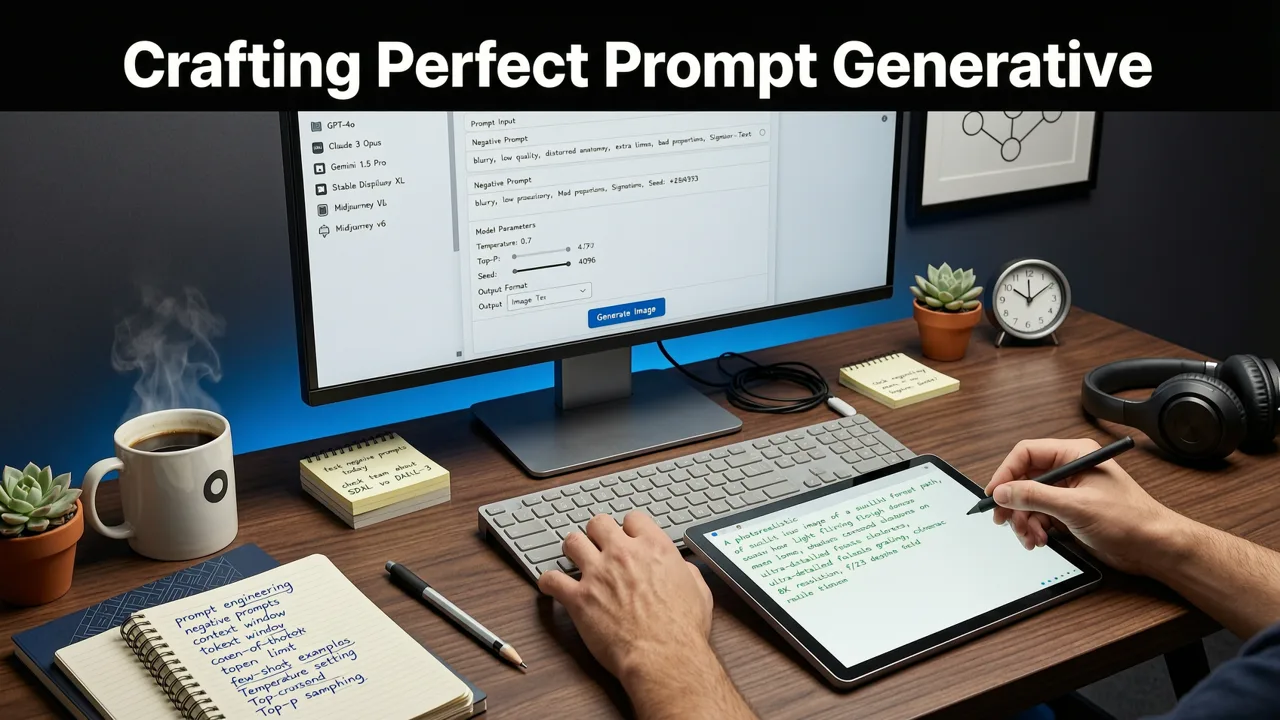
The difference between a usable edit and a flawless one often comes down to prompt engineering. AI models respond best to clear, descriptive language that provides context about the physical properties of the scene.
Include Lighting and Shadow Details
If your original photo was taken at golden hour, specify "warm directional sunlight casting soft shadows to the left." This ensures the AI does not generate an object with flat, studio-style lighting that clashes with the rest of the image.
Specify Textures and Materials
Words like "matte," "glossy," "weathered," or "translucent" help the AI understand how light should interact with the newly generated surface. This is especially critical for product photo editing, where the material finish must look authentic to potential buyers.
Keep Prompts Concise but Descriptive
While it is tempting to write long paragraphs, AI models often prioritize the first few words. Front-load your prompt with the most important subject, followed by secondary details and environmental context.
Generative Fill vs. Traditional Photo Editing
To understand why generative fill has become the industry standard for rapid image manipulation, it is helpful to compare it with traditional editing methods like cloning and healing brushes.
| Feature | Generative Fill (AI) | Traditional Clone/Heal |
|---|---|---|
| Speed | Seconds per generation | Minutes to hours of manual brushing |
| Complex Additions | Can generate entirely new objects, people, or backgrounds from text | Limited to copying existing pixels from another part of the image |
| Lighting Match | Automatically calculates and applies matching shadows and highlights | Requires manual dodging, burning, and color matching |
| Learning Curve | Low; relies on natural language prompts | High; requires understanding of light, perspective, and manual tools |
| Best Use Case | Rapid prototyping, complex additions, background expansion | Minor blemish removal, duplicating simple textures |
How to Use Generative Fill for Specific Use Cases
Generative fill is highly versatile, but its application varies depending on your specific goals. Here is how professionals are leveraging this technology across different industries.
Ecommerce and Product Photography
Sellers use generative fill to place products in lifestyle settings without organizing expensive physical photoshoots. By selecting the background behind a product and prompting for a "marble countertop with a blurred kitchen background," you can instantly create high-converting lifestyle imagery. If the generated background lacks the sharpness needed for product detail, you can apply an AI upscaler to ensure the final image is crisp and ready for high-resolution web listings.
Portrait and Headshot Editing
For portrait photographers and personal branding, generative fill is invaluable for fixing wardrobe malfunctions or changing environments. You can easily swap a casual t-shirt for a tailored suit or remove distracting background elements. However, when working closely with facial features or skin textures, it is important to use specialized tools. For comprehensive touch-ups after your generative fill adjustments, exploring the best AI portrait editors of 2026 can help you refine skin tones and lighting to maintain a natural look.
Social Media and Content Creation
Content creators frequently need to repurpose a single image for multiple platforms with different aspect ratios. Instead of cropping and losing vital content, you can use generative fill to expand the canvas. Turn a horizontal landscape photo into a vertical reel format by generating new sky, foreground, or background elements that match the original scene perfectly.
Common Mistakes to Avoid When Using Generative Fill
Even with powerful AI, user error can lead to unnatural results. Avoid these common pitfalls to ensure your edits look professional.
Selecting Too Tight of an Area
When removing an object, if your selection brush is too tight around the edges, the AI may struggle to blend the boundaries. Always include a small feathered margin of the surrounding background in your selection to give the model context for blending.
Ignoring Perspective and Scale
If you are adding a new object to a scene, ensure your prompt reflects the correct scale. Adding a "small coffee cup" to a table where the perspective implies a large dining setting will result in a visually jarring edit. Mentioning the relative size or distance in your prompt helps the AI maintain spatial consistency.
Overcomplicating the Prompt
Asking the AI to generate multiple complex objects with conflicting lighting conditions in a single prompt often leads to muddled results. Break complex scenes down into multiple, sequential generative fill passes.
Exploring Alternatives to Premium Generative Fill Tools
While many industry-standard software suites offer generative fill, they often come with steep subscription fees and complex interfaces. If you are looking for accessible options, the market has shifted significantly toward browser-based alternatives. Many creators are actively searching for a free generative fill alternative that does not lock essential features behind restrictive paywalls or credit limits. Modern web-based AI image editors now provide enterprise-grade inpainting capabilities directly in your browser, making professional editing accessible to everyone.
Ethical Considerations and AI Guidelines
As generative AI becomes more integrated into daily workflows, responsible use is paramount. When editing photos of real people, events, or commercial products, transparency and authenticity matter. Always adhere to platform-specific guidelines regarding AI-generated content. For a comprehensive overview of how to navigate the ethical deployment of these technologies, review the Google AI guidance on responsible development and usage. Ensuring your edits do not mislead viewers or infringe on copyrights is essential for maintaining trust with your audience.
Mastering AI Photo Editing in 2026
Understanding how to use generative fill empowers you to execute complex photo edits in a fraction of the time it once took. By combining precise selections, descriptive prompts, and a solid understanding of lighting and perspective, you can transform ordinary photos into polished, professional assets. Whether you are expanding backgrounds for social media, retouching portraits, or creating lifestyle product shots, AI inpainting is an indispensable skill for modern visual content creation.
Ready to streamline your workflow and bring your creative visions to life without needing advanced design skills? Explore the full suite of over 200 text-prompt tools at AI Image Editor and start transforming your photos in seconds.