How to Use Generative Fill in Photoshop: The Complete 2026 Workflow
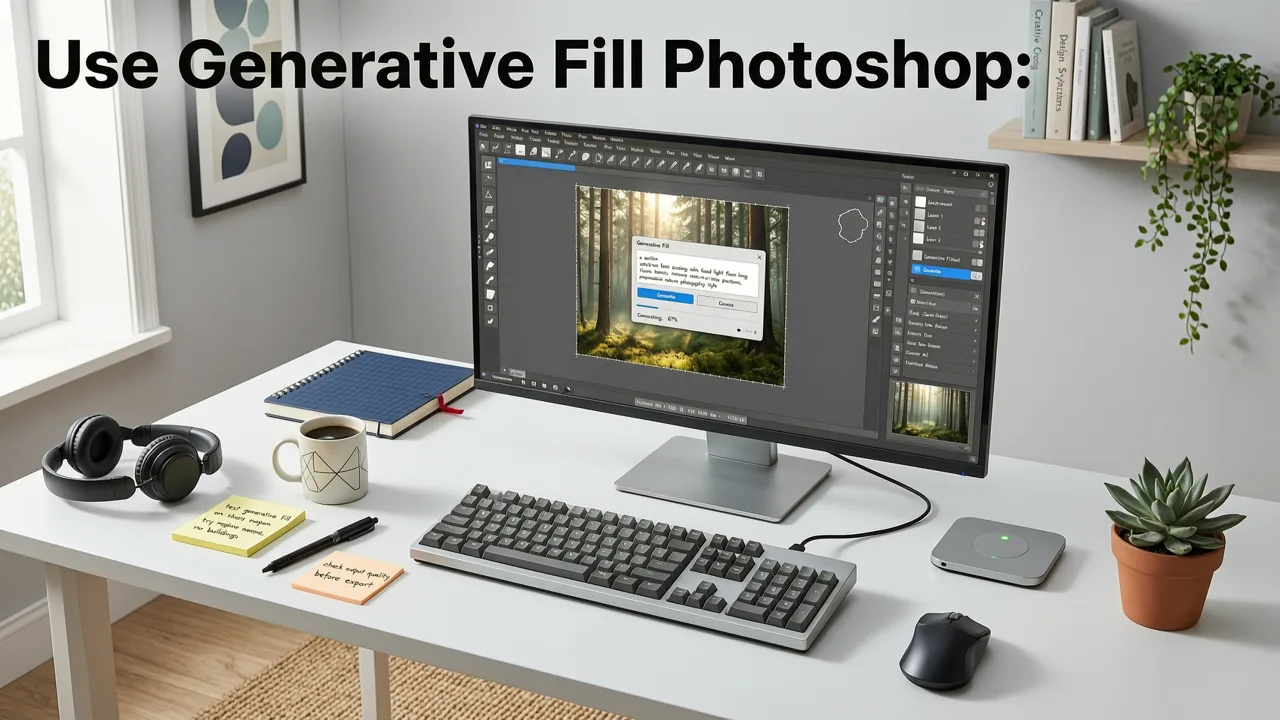
If you've been searching for how to use Generative Fill in Photoshop, you've probably noticed the feature keeps evolving. Adobe's AI-powered fill tool now handles complex prompts, multi-layer selections, and context-aware inpainting with far more precision than it did even a year ago. In this guide, you'll get a clear, step-by-step walkthrough of how to use Generative Fill in Photoshop in 2026, along with honest tips on when a dedicated AI photo editor might actually be faster for your workflow.
What Is Generative Fill in Photoshop?
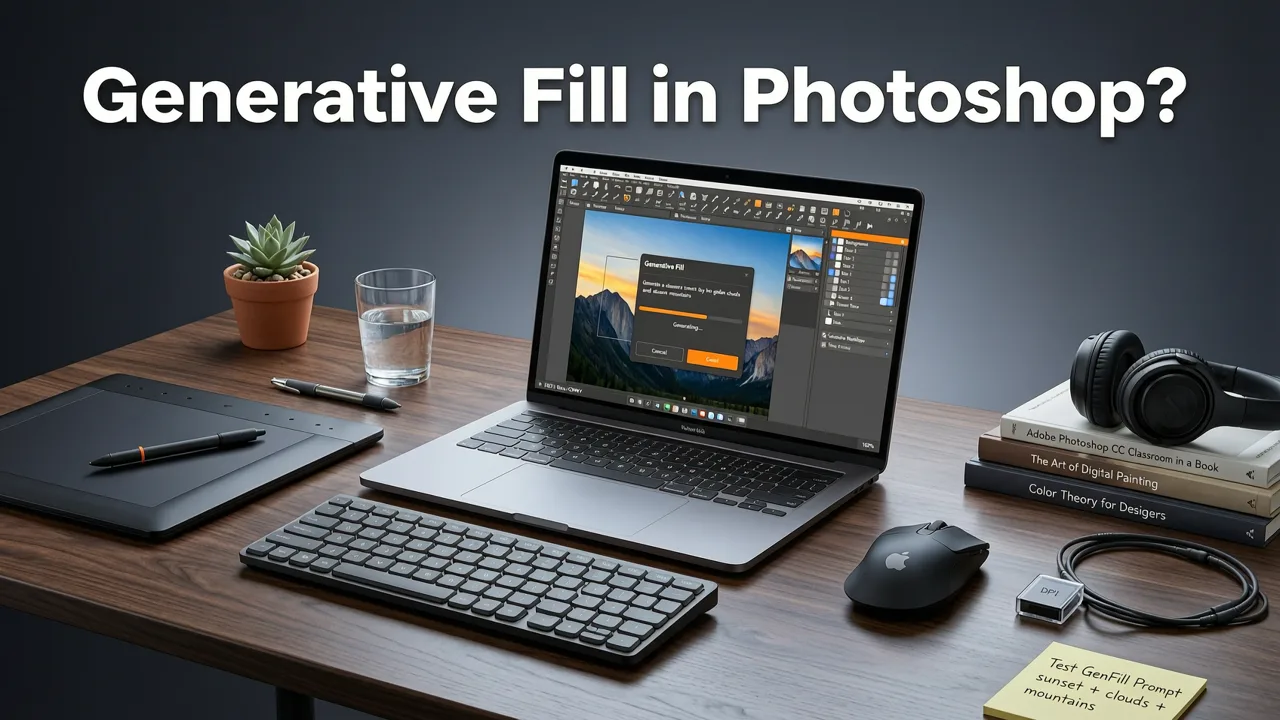
Generative Fill is Adobe's AI-driven selection and inpainting feature, powered by the Adobe Firefly model. It lets you select any area of an image, type a text prompt describing what you want to appear, and generate new pixel content that blends with the surrounding context. Whether you're extending a background, removing an unwanted object, or adding entirely new elements to a scene, Generative Fill handles the heavy lifting.
How Generative Fill Works Under the Hood
When you make a selection and enter a prompt, Photoshop sends that region, along with contextual data from surrounding pixels, to Adobe's Firefly engine. The model analyzes lighting, perspective, color palette, and texture, then generates multiple variations that match the scene. You can cycle through those variations, refine your selection, or adjust your prompt until the result looks right.
Introduction to Generative Fill | Adobe Photoshop
by Adobe Photoshop
What Generative Fill Can Do in 2026
- Object removal: Select an unwanted element and leave the prompt blank to let the AI reconstruct the background.
- Scene extension: Expand the canvas and use Generative Fill to generate new content that matches the original image.
- Element addition: Add objects, people, or environmental details with a simple text description.
- Background replacement: Swap out skies, walls, or entire environments while preserving foreground subjects.
- Style transfer within regions: Change the material, texture, or mood of a selected area.
Why Learning How to Use Generative Fill in Photoshop Still Matters in 2026
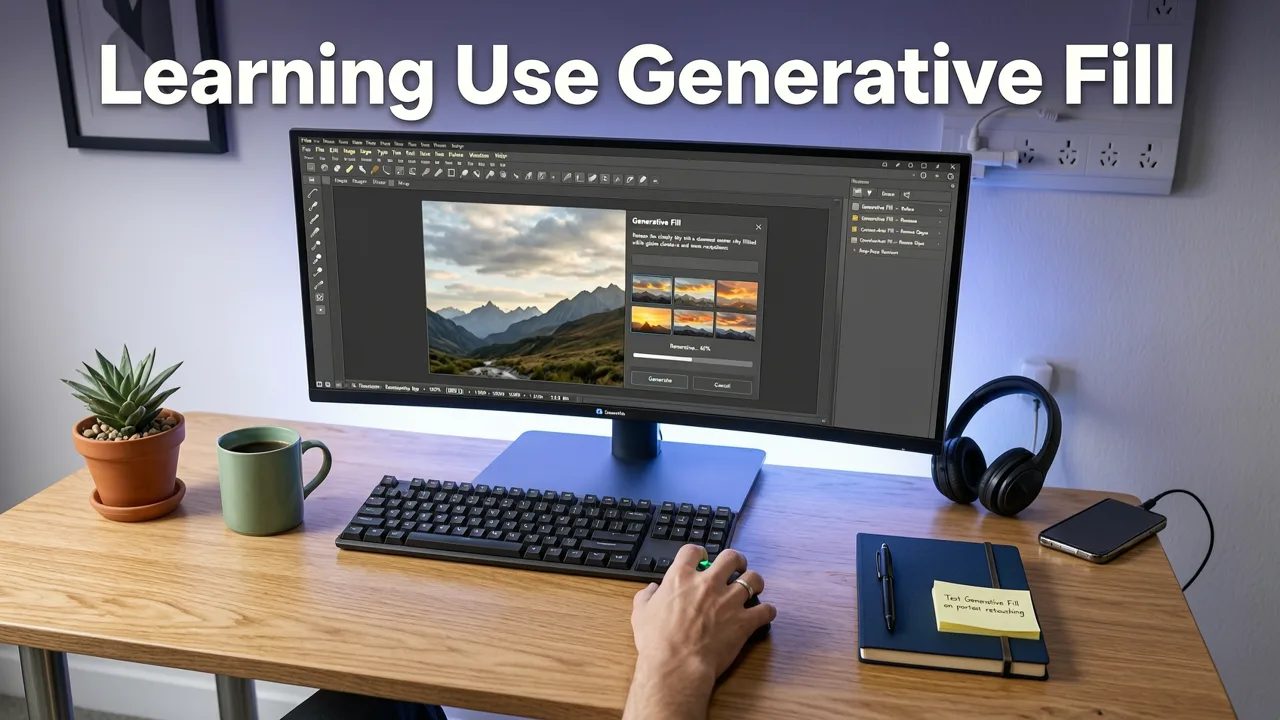
Despite the explosion of standalone AI editors, Photoshop remains the industry-standard tool for professionals who need layered, non-destructive workflows. Generative Fill integrates directly into that ecosystem, meaning every AI-generated result lives on its own layer, can be masked, and can be revisited later. For designers, retouchers, and creative directors who already work inside Photoshop daily, understanding this feature inside and out is not optional — it's essential.
That said, if your goal is quick, repeatable edits for ecommerce product photos, social media content, or portrait retouching, a streamlined AI platform can often deliver results faster without the learning curve. We'll compare both paths later in this guide.
Step-by-Step: How to Use Generative Fill in Photoshop
Here is the exact workflow for using Generative Fill in Photoshop in 2026, updated for the latest version of the application.
Step 1: Open Your Image and Prepare Your Layers
Launch Photoshop and open the image you want to edit. For best results, duplicate your background layer so you preserve the original. Right-click the layer in the Layers panel and choose Duplicate Layer.
Step 2: Make Your Selection
Use any selection tool — the Lasso, Marquee, Object Selection Tool, or Quick Selection — to outline the area you want to modify. Your selection does not need to be pixel-perfect; Generative Fill works best with a slightly generous selection that includes some surrounding context.
Pro tip: For portrait work where you need to remove blemishes or refine skin texture, a dedicated tool like the one described in our guide on removing blemishes with AI can be faster than manually selecting each imperfection in Photoshop.
Step 3: Open the Generative Fill Toolbar
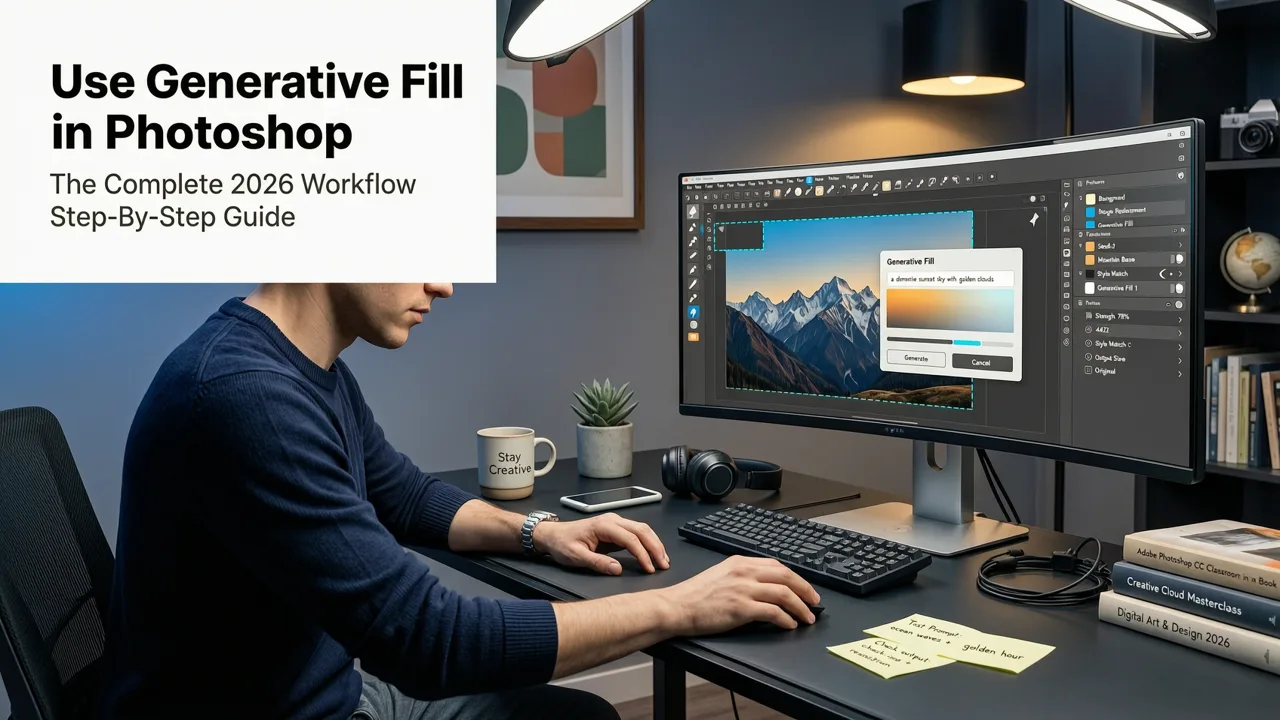
Once your selection is active, a contextual toolbar appears near the selection boundary. Click the Generative Fill button. If you don't see it, go to Select > Generative Fill from the top menu.
Step 4: Enter Your Prompt
Type a clear, descriptive prompt in the text field. Be specific about what you want. For example:
- "Remove the person on the left" — for clean object removal.
- "Add a wooden fence in the background" — for element addition.
- "Replace the sky with dramatic sunset clouds" — for background swaps.
- Leave the prompt blank — to let the AI automatically fill the selection based on surrounding context.
Step 5: Review and Choose a Variation
Photoshop generates up to three variations by default. Each appears as a separate Generative Layer in your Layers panel. Click through the variations in the Properties panel to compare them. Choose the one that best matches your vision.
Step 6: Refine with Masking and Additional Passes
If the result is close but not perfect, use the layer mask on the Generative Layer to paint away areas that don't work. You can also re-select a portion of the image and run Generative Fill again for a second pass. This iterative approach is where Photoshop's non-destructive workflow really shines.
How to Use Generative Fill in Photoshop: Prompt Writing Tips That Actually Work
The quality of your Generative Fill output depends heavily on the prompt you write. Here are practical guidelines for writing prompts that produce reliable, natural-looking results.
Be Specific About Objects and Materials
Instead of typing "add a chair," try "add a mid-century modern walnut dining chair with beige linen upholstery." The more precise your description, the more accurately the AI can match your intent.
Describe Lighting and Mood
Generative Fill analyzes surrounding pixels for lighting, but you can reinforce your intent by including lighting cues in your prompt: "add a table lamp casting warm directional light from the left."
Use Spatial Language
Tell the AI where elements should go: "in the foreground," "behind the subject," "along the right edge." This reduces the chance of misplaced or oddly scaled objects.
Keep Prompts Concise
Adobe's Firefly model responds well to clear, short prompts. Avoid long narrative descriptions. Stick to the essential details: what, where, and how it should look.
Generative Fill in Photoshop vs. Standalone AI Photo Editors
Understanding when to use Generative Fill in Photoshop versus a dedicated AI editor comes down to your project requirements, volume, and technical comfort. Here's a direct comparison.
| Feature | Generative Fill in Photoshop | AI Image Editor (aimageditor.com) |
|---|---|---|
| Learning curve | Requires Photoshop knowledge | Upload, prompt, done — no design skills needed |
| Layer-based editing | Full non-destructive layer control | Single-pass output, downloadable result |
| Speed for simple edits | Slower — requires selection, prompt, review | Faster — automated detection and processing |
| Batch processing | Limited; requires Actions or scripting | Built-in batch workflows for ecommerce |
| Best for | Designers, retouchers, creative professionals | Creators, sellers, marketers, everyday users |
| Cost | Adobe subscription required | Free tier available; no download needed |
| Portrait retouching | Manual selection and masking | One-click skin smoothing and blemish removal |
For ecommerce sellers managing hundreds of product images, a purpose-built platform like the best AI photo editor for ecommerce can dramatically reduce turnaround time. For creative professionals who need granular control, Generative Fill in Photoshop remains unmatched.
Common Issues When Using Generative Fill and How to Fix Them
Even experienced Photoshop users run into problems with Generative Fill. Here are the most frequent issues and how to resolve them.
The Generated Content Doesn't Match the Surrounding Area
This usually happens when your selection is too tight. Expand your selection by a few pixels on each side to give the AI more context. You can also add lighting or texture cues to your prompt to guide the output.
Unnatural Edges or Visible Seams
Use a soft-edged selection or apply a slight feather to your selection before running Generative Fill. After generation, use the Clone Stamp or Healing Brush on the Generative Layer to blend any remaining hard edges.
The AI Adds Unwanted Elements
If the AI introduces objects or details you didn't ask for, refine your prompt to explicitly exclude them. For example, add "no text, no watermarks, no additional objects" to your description. You can also mask out unwanted additions after generation.
Generative Fill Is Slow or Unresponsive
Generative Fill requires an internet connection and sufficient GPU resources. Make sure you're running the latest version of Photoshop, that your Creative Cloud subscription is active, and that your system meets Adobe's recommended specs. For users who need instant results without waiting for cloud processing, an online AI skin smoothing tool or similar web-based editor can be a practical alternative.
Advanced Techniques for Power Users
Once you've mastered the basics of how to use Generative Fill in Photoshop, these advanced techniques will help you get even more from the tool.
Combining Generative Fill with Adjustment Layers
After generating content, add adjustment layers above the Generative Layer to fine-tune color, contrast, and saturation. Because the Generative Layer is a separate entity, you can apply non-destructive corrections without affecting the original image.
Using Generative Fill for Portrait Compositing
Portrait retouchers can use Generative Fill to change backgrounds, add environmental elements, or extend canvas for different aspect ratios. For skin-level refinements, pairing Generative Fill with the best AI photo editor for portraits workflow gives you both macro-level scene control and micro-level skin perfection.
Chaining Multiple Generative Fill Passes
For complex scenes, run Generative Fill multiple times on different regions. Each pass generates its own layer, giving you independent control over every element. This is particularly useful for product photography where you might want to separately generate a surface, background, and lighting setup.
Is Generative Fill in Photoshop Worth It in 2026?
The answer depends on your workflow. If you're a designer or retoucher who lives inside Photoshop, Generative Fill is an indispensable tool that saves hours of manual compositing work. The 2026 version is faster, more accurate, and more contextually aware than any previous release.
If you're a content creator, ecommerce seller, or marketer who needs fast, consistent results across many images, a streamlined AI editor may serve you better for day-to-day tasks. The ideal approach is often a combination: use Photoshop and Generative Fill for high-end creative work, and use a dedicated AI platform for volume editing.
Final Thoughts on How to Use Generative Fill in Photoshop
Generative Fill has matured into one of the most powerful AI features in any professional creative tool. By understanding the selection process, writing effective prompts, and knowing when to combine it with other tools, you can dramatically expand what's possible in your editing workflow. Whether you're extending a landscape, removing distractions, or building entirely new scenes from scratch, the steps in this guide will get you there efficiently.
Ready to explore faster AI editing for portraits, product photos, and everyday content? Visit AI Image Editor to try 200+ text-prompt tools that deliver polished results in seconds — no Photoshop subscription required.