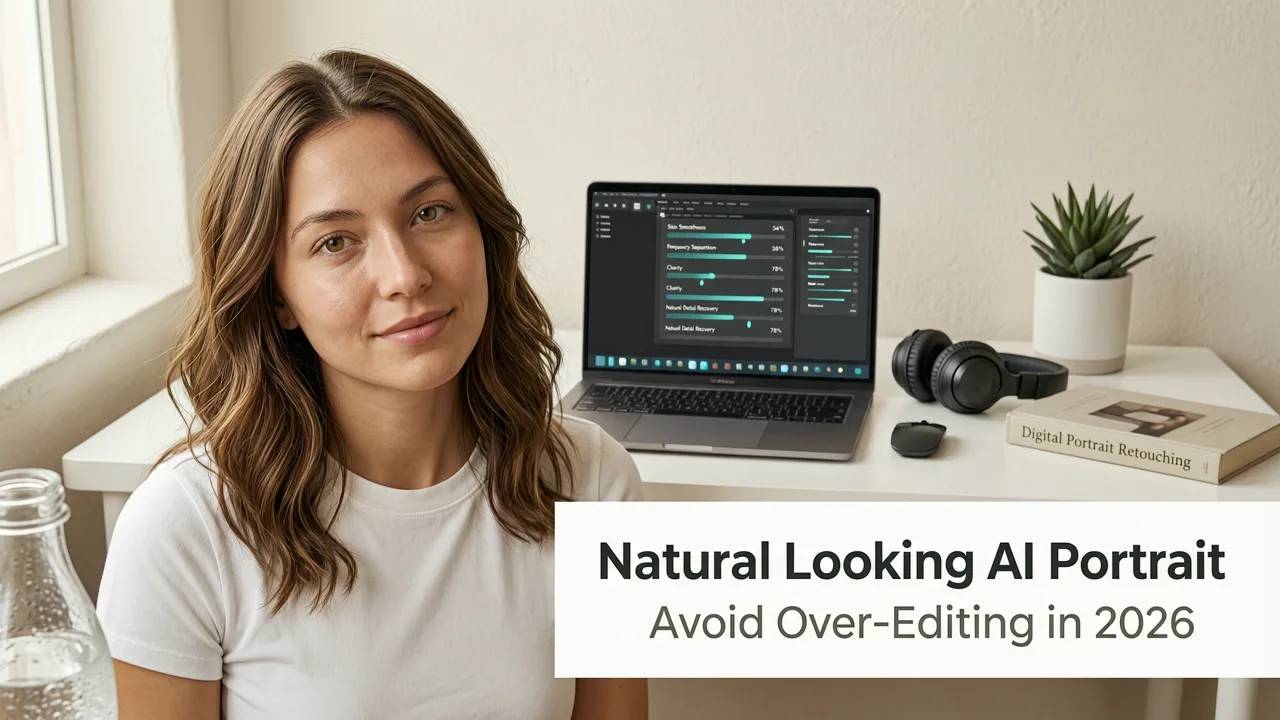
Natural Looking AI Portrait Retouch — Avoid Over-Editing in 2026
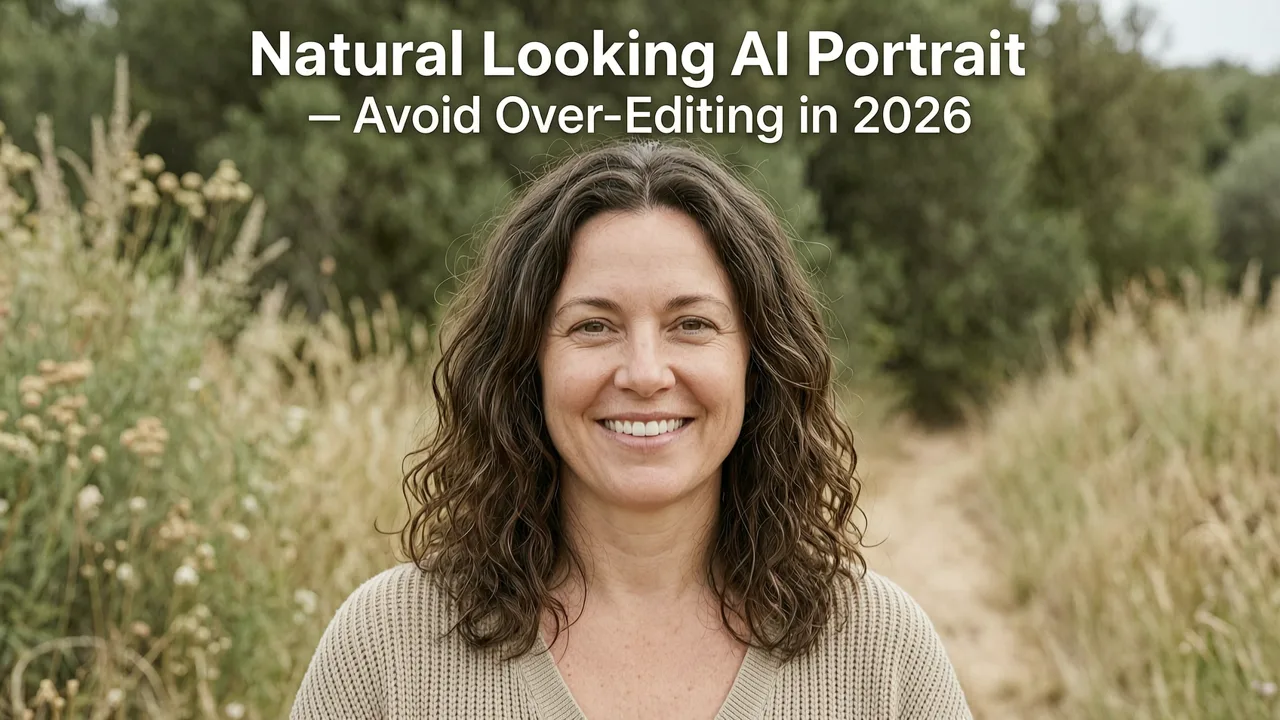
If you have ever opened a retouched portrait and thought, that person looks like a mannequin, you have experienced the most common failure of AI portrait editing. The good news in 2026 is that a natural looking AI portrait retouch is entirely possible — and it comes down to choosing the right tool, writing better prompts, and knowing which edits to dial back.
The short answer: a natural looking AI portrait retouch preserves skin texture, keeps facial proportions intact, and enhances — rather than replaces — the subject's real features. Below is a complete guide to getting there, whether you are editing headshots for LinkedIn, product photos for your store, or selfies for social media.
Why Natural Looking AI Portrait Retouch Matters More Than Ever
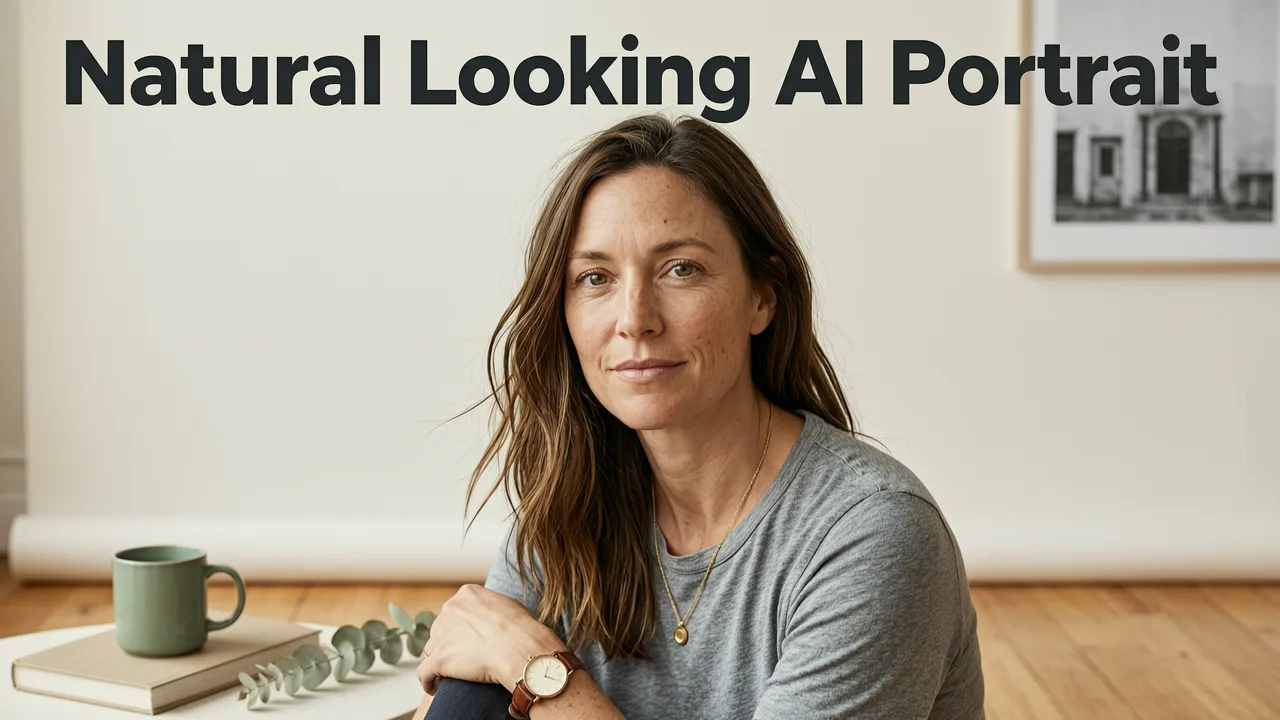
Portrait photography has always walked a line between enhancement and authenticity. In 2026, that line matters more than ever for three reasons:
How to RETOUCH a Portrait in 3 Seconds with EVOTO AI
by Mark McGee Photos
- Audience trust. Viewers can spot over-processed skin instantly. Plastic-looking portraits erode credibility, especially for personal brands, coaches, and ecommerce sellers.
- Platform algorithms. Social platforms increasingly flag or downrank heavily altered images, particularly those that distort body shape or skin tone.
- Professional standards. Corporate headshots, real estate agent bios, and press photos need to look polished yet believable. Clients expect retouching — but not at the cost of realism.
A natural looking AI portrait retouch solves all three problems. It smooths minor blemishes, corrects lighting, and sharpens details while leaving the subject recognizably themselves.
What Makes a Portrait Retouch Look "Unnatural"?
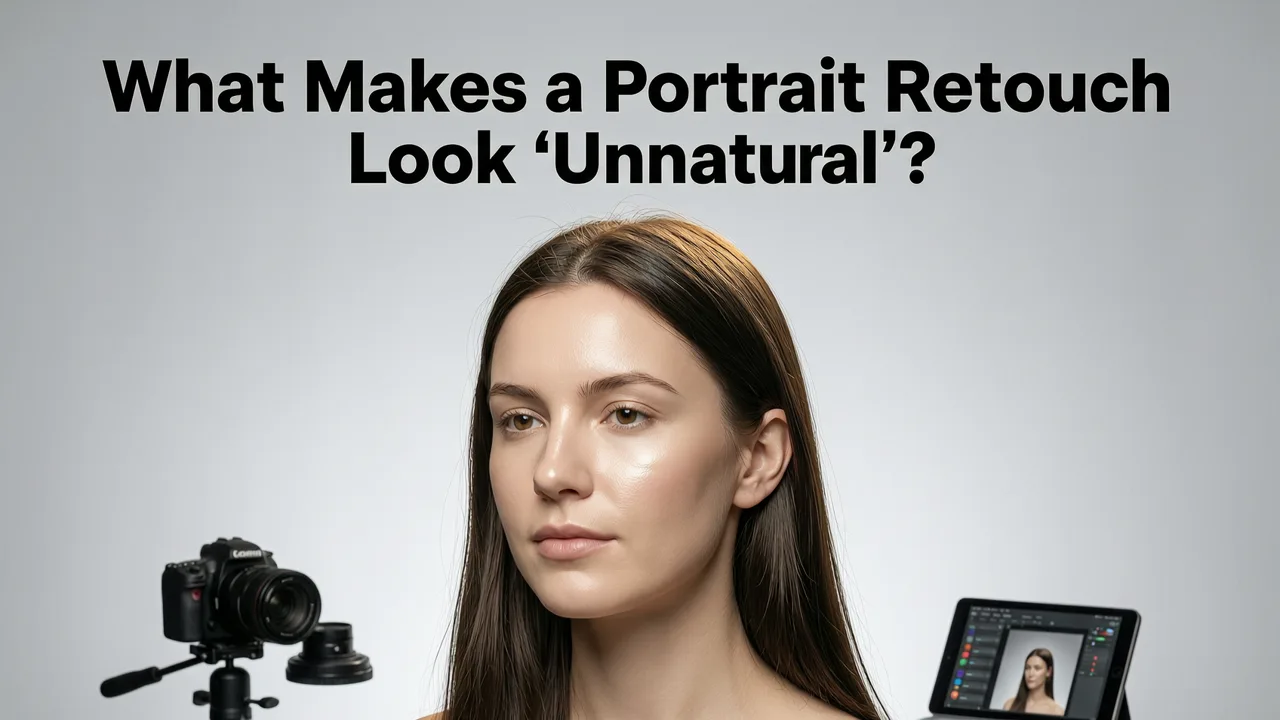
Before fixing the problem, it helps to understand what causes it. Most unnatural AI retouching shares the same handful of symptoms:
Skin Looks Like Plastic or Wax
This is the number-one complaint. Aggressive smoothing removes pores, fine lines, and subtle texture variations that human eyes expect to see. When all texture is gone, the brain registers the face as artificial.
Facial Proportions Shift
Some AI tools subtly reshape jawlines, enlarge eyes, or slim noses by default. Even a two-percent shift can make a portrait look "off" to anyone who knows the subject in real life.
Color and Tone Drift
Over-saturation, flattened shadows, or a uniform skin tone across the entire face removes the natural warmth and dimension that makes a portrait feel alive.
Edge Artifacts
Hair strands that blur into the background, halos around the jawline, or mismatched lighting between the subject and a replaced background are dead giveaways of heavy AI processing.
How AI Portrait Retouching Works Under the Hood
Modern AI portrait editors in 2026 rely on a combination of technologies:
- Facial landmark detection. The AI maps key points — eyes, nose, lips, jawline — to understand facial geometry.
- Semantic segmentation. The model separates skin, hair, eyes, lips, teeth, and background into distinct layers so edits apply only where intended.
- Texture-preserving diffusion. Newer models apply corrections through diffusion steps that retain micro-detail rather than blurring it away.
- Prompt-guided refinement. You describe the edit in plain language, and the AI adjusts its processing intensity accordingly.
The difference between a natural result and an over-edited one often comes down to how the user guides the AI. The tool is only as subtle as the instructions it receives.
Step-by-Step: Achieving a Natural Looking AI Portrait Retouch
Step 1 — Start With the Best Source Image
No amount of retouching can fully recover a badly lit or heavily pixelated photo. Upload the highest-resolution original you have. If your image is small or compressed, run it through an upscaler first. The Nero AI Image Upscaler is a solid option that restores detail without introducing the smoothing artifacts that cause plastic-looking skin later.
Step 2 — Choose a Tool Designed for Subtlety
Not all AI editors are built equal. Platforms like AI Image Editor offer 200+ prompt-based tools that let you target specific edits — blemish removal, teeth whitening, under-eye correction — without applying a blanket filter across the entire face.
Step 3 — Write Prompts That Prioritize Realism
Your prompt is the single biggest lever you control. Compare these two approaches:
| Over-Edited Prompt | Natural-Looking Prompt |
|---|---|
| "Make skin perfectly smooth and flawless" | "Reduce visible blemishes while keeping natural skin texture and pores" |
| "Make the face look younger and slimmer" | "Softly reduce under-eye shadows; keep facial structure unchanged" |
| "Perfect white teeth and bright eyes" | "Slightly brighten teeth and eyes while preserving natural color" |
| "Remove all wrinkles" | "Soften deep wrinkles slightly; retain fine expression lines" |
The pattern is clear: natural-looking prompts preserve rather than replace. They ask the AI to reduce, soften, or subtly enhance — never to perfect or eliminate entirely.
Step 4 — Edit in Layers, Not All at Once
Instead of asking the AI to fix everything in a single pass, break the retouch into targeted steps:
- Pass 1: Blemish and spot removal.
- Pass 2: Under-eye and shadow softening.
- Pass 3: Teeth and eye brightening.
- Pass 4: Lighting and color balance.
Each pass lets you evaluate the result before moving on. If one step looks too aggressive, you can revert without losing the others.
Step 5 — Check at 100% Zoom and on Mobile
A retouch can look fine on a large desktop monitor but reveal artifacts on a phone screen. Always zoom to 100% to inspect skin texture, then view the image at actual display size to judge overall realism.
Common Mistakes That Ruin Natural-Looking AI Portrait Retouches
Applying a Global Smoothing Filter
Some tools offer a one-click "beauty" mode. These almost always over-smooth because they apply the same intensity to every pixel. Targeted, prompt-driven edits give you far more control.
Ignoring Lighting Consistency
If you retouch the face but leave the background, the subject can look pasted on. When editing backgrounds, use a tool that matches lighting and shadow direction. The guide to removing and replacing backgrounds with AI covers how semantic segmentation keeps lighting coherent.
Over-Whitening Teeth or Eyes
Bright white teeth and glowing eyes are a hallmark of amateur retouching. Real teeth have subtle yellow and grey tones. Real eyes have depth and shadow. Ask the AI to "slightly brighten" rather than "whiten" or "enhance."
Forgetting the Hair
Hair is one of the hardest elements for AI to handle. Over-processed hair loses individual strand detail and looks like a solid helmet. If you are editing backgrounds near hair, consider using a generative fill tool that preserves edge detail rather than a hard-cut background remover.
Prompt Templates for Natural-Looking Portrait Retouching
Save these prompt templates and adapt them to your portraits. Each one is designed to guide the AI toward subtlety.
- Headshot cleanup: "Remove blemishes and reduce under-eye shadows. Keep natural skin texture, pores, and facial structure unchanged."
- Event photo polish: "Even out skin tone and reduce shine on the forehead. Preserve all facial features and expression lines."
- Ecommerce model edit: "Soften minor skin imperfections and brighten eyes slightly. Maintain natural skin color and texture for a realistic product photo."
- Social media portrait: "Reduce redness around the nose and cheeks. Keep skin texture natural and avoid any face reshaping."
- Family photo restoration: "Repair scratches and faded areas. Keep original tones, skin texture, and facial details authentic."
Natural Looking AI Portrait Retouch vs. Traditional Retouching
How does AI-driven retouching compare to the traditional Photoshop workflow? Here is a side-by-side comparison for 2026:
| Factor | AI Portrait Retouch | Traditional Manual Retouch |
|---|---|---|
| Speed | Seconds per image | 15–60 minutes per image |
| Skill required | Prompt writing only | Advanced Photoshop knowledge |
| Texture preservation | High with correct prompts | Depends on retoucher skill |
| Consistency across a batch | Very high | Variable |
| Cost per image | Low (subscription or credit-based) | High (hourly retoucher rates) |
| Fine-grain control | Improving rapidly | Maximum control |
For most everyday use cases — headshots, social content, ecommerce product photos — AI retouching now matches or exceeds the quality of mid-level manual retouching at a fraction of the cost and time. For high-end editorial work, many professionals still combine AI passes with manual refinement.
Ethical Considerations for AI Portrait Editing
With powerful editing tools comes real responsibility. In 2026, both Google's AI responsibility guidelines and emerging industry standards emphasize transparency. A few principles to follow:
- Do not alter body shape in ways that promote unrealistic beauty standards, especially for portraits of minors.
- Disclose AI editing when the portrait is used in a professional or journalistic context where authenticity matters.
- Respect consent. Never edit someone's portrait in ways they have not approved, particularly for public-facing use.
A natural looking AI portrait retouch should make someone look like the best version of themselves on a good day — not a different person entirely.
Who Benefits Most From Natural-Looking AI Portrait Retouching
Content Creators and Influencers
Audiences engage more with authentic-looking content. Subtle retouching keeps your skin looking healthy without triggering the "filtered" reaction that drives viewers away.
Ecommerce Sellers
Product photos with models need to look professional yet approachable. Over-processed model shots can make products feel less trustworthy.
Real Estate Agents and Professionals
Your headshot is often the first impression a client has of you. A natural retouch ensures you look polished, well-rested, and genuinely like yourself.
Marketers and Ad Teams
Ad platforms increasingly scrutinize heavily altered images. Natural-looking retouches comply with platform policies and perform better in A/B tests because they feel authentic.
Quick Checklist: Is Your AI Portrait Retouch Natural Enough?
Before publishing any retouched portrait, run through this checklist:
- Can you still see skin texture and pores at normal viewing distance?
- Would the subject recognize themselves instantly?
- Do the teeth look slightly off-white rather than glowing blue-white?
- Are expression lines still visible, just softened?
- Does the hair retain strand-level detail at the edges?
- Does the lighting on the face match the background?
- Does the image look natural on a phone screen, not just a desktop monitor?
If you answered "no" to any of these, dial back the edit intensity and re-run with a more preservation-focused prompt.
Frequently Asked Questions
What is the best AI prompt for natural skin retouching?
Use prompts that explicitly preserve texture, such as: "Reduce blemishes while keeping natural skin texture and pores." Avoid words like "perfect," "flawless," or "smooth," which push the AI toward over-processing.
Can AI portrait retouching handle group photos?
Yes. Modern AI editors detect and segment each face individually. You can apply the same retouching prompt to all subjects or target specific people by describing their position, such as "the person on the left."
How do I avoid the "plastic skin" look?
Always include texture-preservation language in your prompt. Edit in multiple targeted passes rather than one global filter. And check the result at 100% zoom to confirm pores and fine lines are still visible.
Is natural AI portrait retouching free?
Many platforms, including AI Image Editor, offer free tiers with a limited number of edits. For regular use, a subscription or credit plan unlocks higher resolution exports and batch processing.
Final Thoughts
A natural looking AI portrait retouch is not about removing imperfections — it is about enhancing what is already there. In 2026, the tools are sophisticated enough that the difference between a great retouch and a bad one comes down to your prompts, your process, and your eye for realism. Start with a high-quality source image, write prompts that prioritize preservation over perfection, and always evaluate the result at full resolution before publishing.
Ready to put these techniques into practice? Upload your next portrait to AI Image Editor and test the prompt templates above. The difference between an over-edited mess and a polished, natural portrait is just one better prompt away.