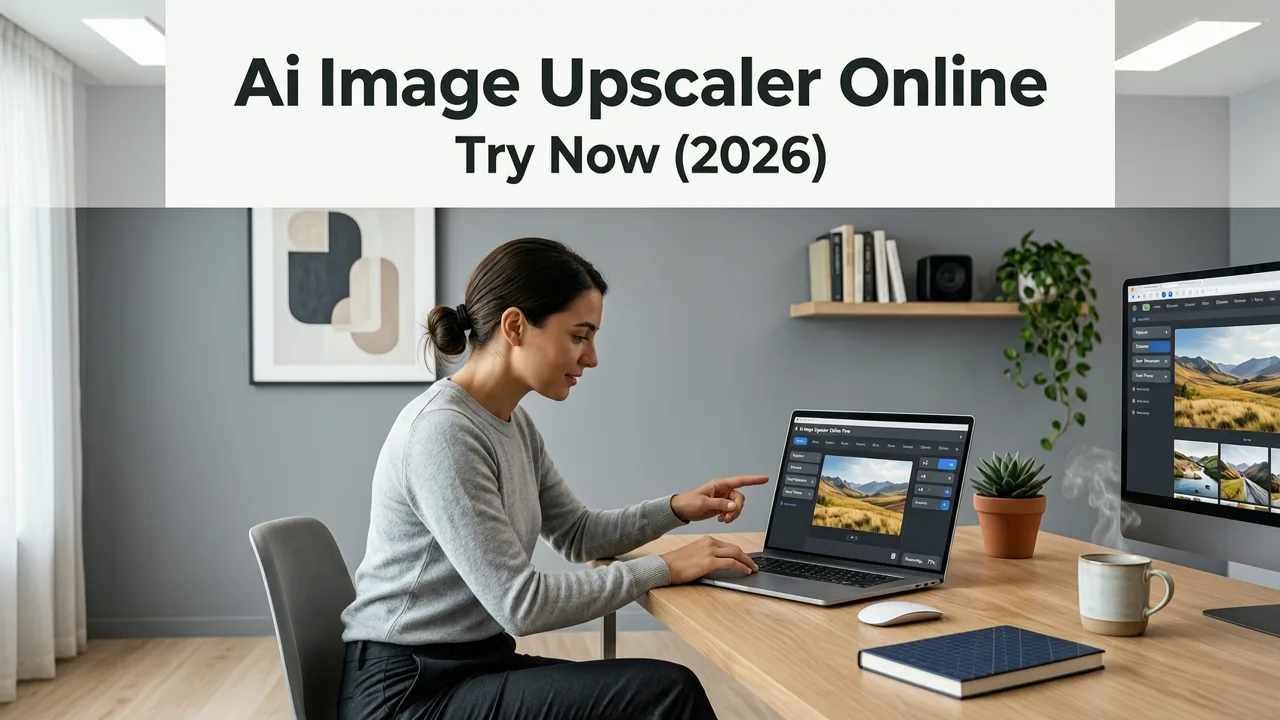
AI Image Upscaler Online Free — Try Now (2026)
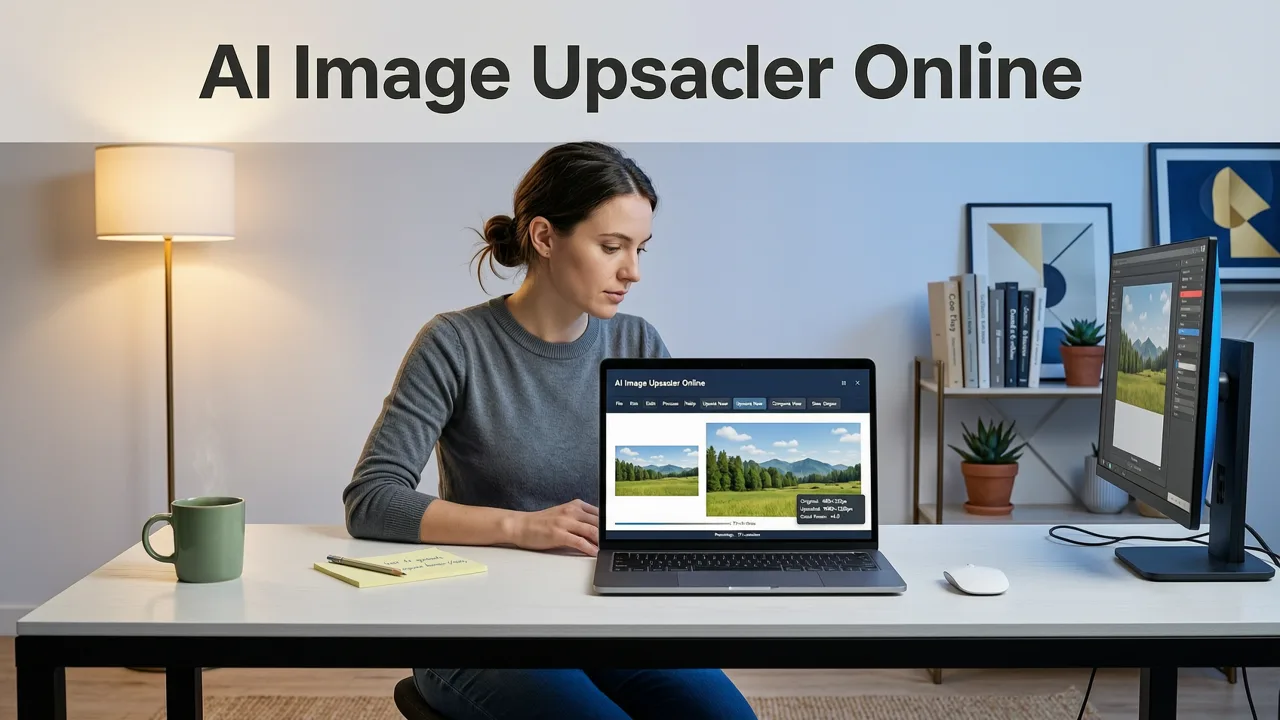
If you are searching for an ai image upscaler online free in 2026, the short answer is that AI Image Editor lets you enlarge photos up to 4K without a download, without a watermark, and without signing up. Upload your image, pick an upscale factor, and the tool rebuilds missing pixels using modern diffusion-based super-resolution models trained on millions of real-world photos.
That headline claim matters because most free upscalers in 2026 either cap output at 1080p, slap a watermark on the final file, or quietly move you to a paid tier after three uploads. Below you will find exactly how today's free AI upscalers work, what to watch out for, and a practical comparison so you can choose the right tool for portraits, ecommerce product shots, or social media content.
Why Free AI Image Upscalers Matter More in 2026
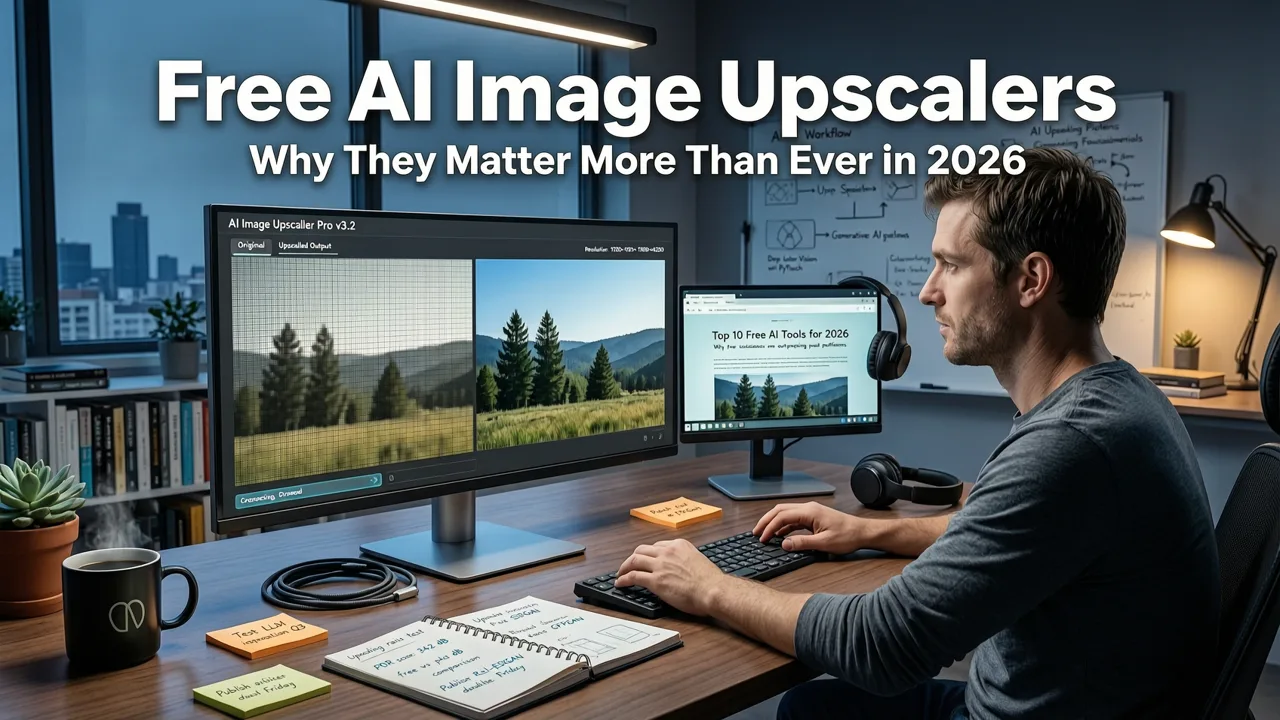
Display resolutions keep climbing. Phones shoot 48 and 200 megapixels, monitors push 5K and 6K, and ecommerce platforms now penalize low-resolution product images in search rankings. At the same time, creators are working with legacy assets — old family photos, scanned prints, compressed JPEGs from early social uploads — that need to look sharp on modern screens.
Best 3 FREE Image Upscalers in 2025 + Comparison!
by PiXimperfect
An ai image upscaler online free solves three problems at once:
- It rescues low-resolution images without requiring Photoshop skills.
- It keeps ecommerce workflows fast by running entirely in the browser.
- It removes the cost barrier for students, small sellers, and hobbyists who only need occasional upscales.
The catch is that not every free tool delivers the same quality. Some rely on older bicubic interpolation dressed up with an AI label, while others use genuine generative models that reconstruct texture and detail. The difference is obvious the moment you zoom in.
How AI Image Upscaling Works Under the Hood
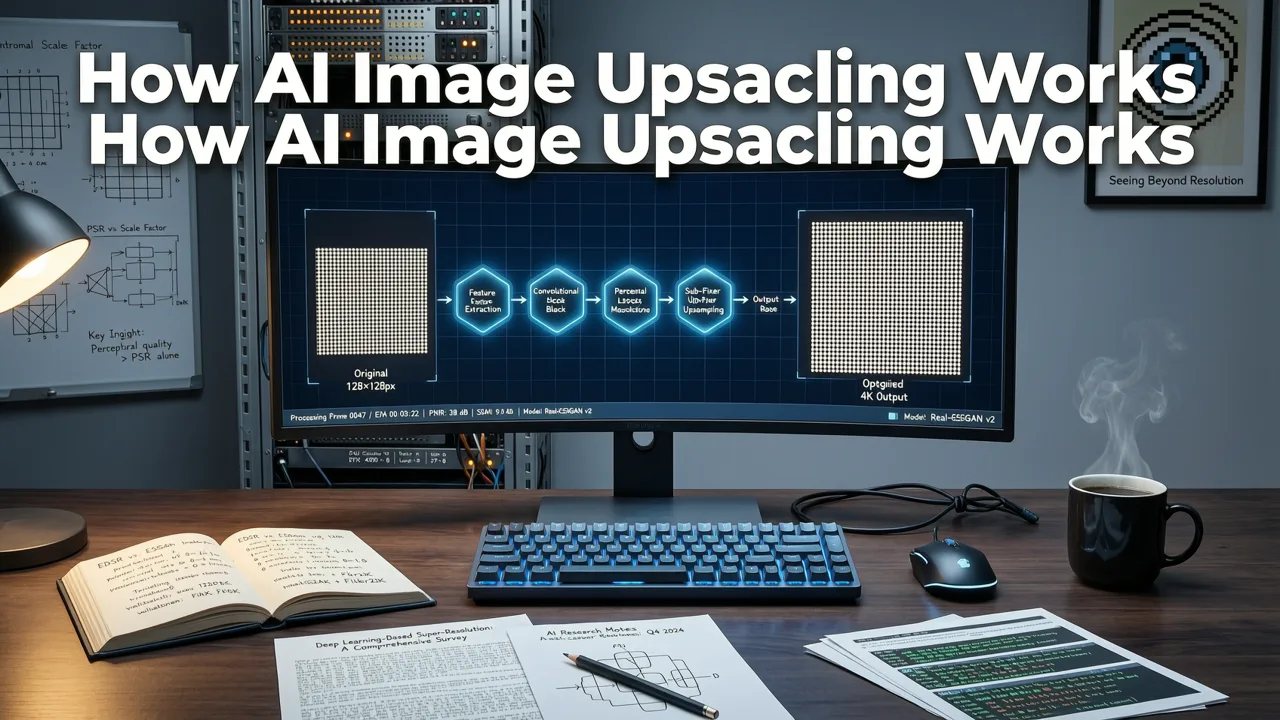
Modern upscaling is no longer simple pixel duplication. Today's best free AI upscalers follow a pipeline that looks roughly like this:
Step 1 — Noise and Compression Analysis
The model first scans the input for JPEG artifacts, sensor noise, and compression blocking. It builds a map of which regions are trustworthy and which need reconstruction.
Step 2 — Feature Extraction with a Deep Convolutional Network
A deep neural network — typically a variant of ESRGAN, SwinIR, or a diffusion-based super-resolution model — extracts high-frequency features from edges, textures, and facial structures.
Step 3 — Generative Detail Synthesis
Rather than simply sharpening existing pixels, the model predicts plausible new detail. For portraits this means reconstructing eyelashes and skin texture; for product photos it means recovering stitching patterns and material grain.
Step 4 — Post-Processing and Output
The upscaled image is passed through a final refinement pass that removes halo artifacts, balances color, and exports in your chosen format — usually PNG for lossless output or high-quality JPEG for web use.
If you want a deeper technical walkthrough, the OpenAI documentation covers the foundational research behind diffusion-based super-resolution models that power many 2026 upscalers.
What to Look for in a Free AI Image Upscaler
Not all free upscalers are created equal. Before you commit to a tool, check these criteria:
- Maximum output resolution. Many free tools cap at 2x or 1080p. A quality upscaler should support at least 4x, ideally up to 4K output.
- No watermark. Some services label themselves as free but stamp a logo across the result. Always confirm the output is clean.
- No signup wall. The best browser-based upscalers let you process images immediately without creating an account.
- Format support. Look for PNG, JPEG, and WebP input and output. TIFF and HEIC support is a bonus.
- Batch processing. If you run an ecommerce store, you need to upscale dozens of product images at once, not one at a time.
- Privacy and data handling. Confirm that uploaded images are deleted after processing and are not used to train models without consent.
Google's AI responsibility guidelines offer a useful framework for evaluating how trustworthy an AI tool is with your data.
AI Image Editor vs. Other Free Upscalers in 2026
To make the comparison concrete, here is how AI Image Editor stacks up against other commonly searched free upscalers this year.
| Feature | AI Image Editor | Typical Free Tier A | Typical Free Tier B |
|---|---|---|---|
| Max upscale factor | 4x (up to 4K) | 2x (1080p cap) | 4x (watermarked) |
| Watermark on free output | No | No | Yes |
| Signup required | No | Yes | No |
| Batch upload | Yes | No | Limited (3 images) |
| Portrait-aware model | Yes | No | Partial |
| Output formats | PNG, JPEG, WebP | JPEG only | PNG, JPEG |
| Browser-based | Yes | Yes | Yes |
The key differentiator is the portrait-aware model. Most generic upscalers treat every image the same way, which can lead to unnatural skin texture or warped facial features at high magnification. AI Image Editor applies face-specific refinement that preserves natural skin pores, eye detail, and hair strands.
If you are also exploring generative fill options alongside upscaling, the best free generative fill alternative in 2026 guide breaks down how the two workflows complement each other.
Step-by-Step: How to Upscale an Image with AI Image Editor
Using the upscaler takes under a minute. Here is the exact workflow:
- Upload your image. Drag and drop a JPEG, PNG, or WebP file into the upload area. Maximum input size is 20 MB.
- Select your upscale factor. Choose 2x, 3x, or 4x depending on your target resolution.
- Choose the enhancement mode. For portraits, select the face-aware option. For product photos or landscapes, the general mode works best.
- Process and preview. The model runs in the cloud and returns a result in 5 to 15 seconds depending on image size.
- Download the result. Save as PNG for print or high-resolution use, or JPEG for web and social media.
That is the entire process — no account, no credit card, no software install. For users who also need to clean up backgrounds before upscaling, the remove background and replace with AI tool handles that step in the same session.
Best Use Cases for a Free Online AI Upscaler
Understanding where upscaling delivers the biggest return helps you decide whether to use it on a given image.
Ecommerce Product Photography
Marketplaces like Amazon, Etsy, and Shopify increasingly favor high-resolution product images. An old product shot taken at 72 DPI can be upscaled to 300 DPI for print catalogs or zoom-ready web listings without reshooting.
Social Media and Content Creation
Creators often work with images pulled from older posts, screenshots, or AI-generated outputs that max out at 1024×1024. Upscaling to 4K lets you repurpose that content for YouTube thumbnails, Pinterest pins, or large-format prints.
Photo Restoration and Archiving
Scanned family photos from the 1990s or early 2000s are often small and noisy. A free AI upscaler can enlarge them to modern display sizes while simultaneously reducing scan artifacts.
Real Estate and Architecture
Listing photos taken with older cameras or compressed by MLS systems benefit enormously from upscaling. Sharp images correlate with higher engagement and faster sales.
Common Mistakes to Avoid When Upscaling
Even the best AI upscaler cannot fix every problem. Keep these pitfalls in mind:
- Upscaling heavily compressed JPEGs. If the source is already blocky, the model has less information to work with. Start with the highest quality source available.
- Over-upscaling small images. Jumping from a 256×256 thumbnail straight to 4K will produce soft, hallucinated detail. Incremental upscaling (2x, then 2x again) often yields better results.
- Ignoring color profiles. Some upscalers strip ICC color profiles. If accurate color matters — for product photos in particular — verify the output matches the source.
- Skipping the preview. Always zoom to 100 percent before downloading. What looks sharp at thumbnail size may reveal artifacts when viewed full resolution.
How AI Image Editor's Upscaler Compares to Desktop Alternatives
Desktop tools like Topaz Gigapixel and Adobe Super Resolution have set the benchmark for upscaling quality for years. The question in 2026 is whether a browser-based free tool can compete.
The answer is yes — for most use cases. AI Image Editor's upscaler uses the same class of diffusion-based models that power leading desktop applications, with two practical advantages:
- No GPU requirement. Processing happens on cloud servers, so a budget laptop or even a phone works fine.
- Instant access. There is no software to install, update, or license.
The trade-off is that desktop tools still offer more granular control over noise reduction strength and detail emphasis. For users who need that level of tuning, a dedicated desktop application remains the right choice. For everyone else, a free online upscaler delivers 90 percent of the quality at zero cost.
If you have already explored other upscaling options, the Nero AI Image Upscaler free online comparison offers a useful point of reference for evaluating free tier limitations.
Privacy, Data Handling, and What Happens to Your Uploads
Every time you upload an image to a free online tool, you are trusting that service with your data. In 2026, the standard to expect includes:
- Automatic deletion of uploaded files within 24 hours of processing.
- No use of your images for model training without explicit opt-in consent.
- Encrypted transmission via HTTPS for every upload and download.
AI Image Editor follows these practices. Before using any free upscaler, check the privacy policy for these three points. If a service is vague about data retention, treat that as a red flag.
Tips for Getting the Sharpest Upscaled Results
A few practical habits will noticeably improve your output quality:
- Start with the cleanest source image you have. Remove visible dust or scratches before upscaling.
- If the image has a busy background, consider using a background removal tool first so the model can focus computational resources on the main subject.
- For portraits, use the face-aware mode and avoid upscaling beyond 3x unless the source is at least 500×500 pixels.
- Export in PNG for archival or print use. Use high-quality JPEG (90 percent or above) for web delivery to balance file size and sharpness.
- Run a quick side-by-side comparison at 100 percent zoom before finalizing.
These steps apply whether you are using AI Image Editor or any competing free upscaler.
Frequently Asked Questions
Is AI Image Editor's upscaler really free?
Yes. The core upscaling tool is free to use online with no signup required. You can process multiple images per session without hitting a paywall or receiving a watermarked output.
What is the maximum resolution I can upscale to?
The upscaler supports up to 4x enlargement, which means a 1024×1024 input can be output at 4096×4096 pixels. This is sufficient for 4K displays, large social media formats, and most print applications.
Does the upscaler work on AI-generated images?
Absolutely. Many AI image generators output at 1024×1024 or lower. The upscaler is specifically tuned to enhance AI-generated content, reconstructing fine details that the original model did not render at full resolution.
Will my uploaded images be stored or shared?
No. Uploaded images are processed in an isolated session and automatically deleted within 24 hours. They are not used for model training and are not shared with third parties.
Can I upscale images in batch?
Yes. The tool supports batch uploads so you can process multiple images in a single session, which is especially useful for ecommerce sellers and content creators managing large image libraries.
Start Upscaling for Free Today
A free ai image upscaler online is no longer a compromise in 2026. With diffusion-based models running in the browser, you can enlarge photos to 4K, recover lost detail, and prepare images for print or ecommerce — all without installing software or creating an account. Upload your first image at AI Image Editor and see the difference in under a minute.